How to Descale a Keurig 2.0: Two Methods

I can guess your Keurig 2.0 brewer has been serving you well for months now. I’m sure you want this to go on, but that’s only going to happen if you properly look after it. So today, I’ll teach you how to descale a Keurig 2.0 machine.
It’s not rocket science, so bury any fears you may have. This will take you less than an hour, and you know what the best part is? You could use the same procedure to clean your other single-serve coffee makers and related appliances.
Now, it’s important that you fully understand what you are doing, or else you risk messing up your awesome brewer. The good news is I have you fully covered from start to finish. But first, let’s define the process to deepen your understanding.
What Is Descaling?
It’s easy to confuse descaling and cleaning a Keurig 2.0 brewer. Just to be clear, they aren’t the same thing. Cleaning a Keurig only takes care of the debris, but it is not enough to get rid of limescale build-up.
To remove that alongside other water minerals such as calcium, you have to descale. That’s how you break down those stubborn compounds and restore your brewer to its pristine state.
One huge mistake you should never make is to ignore this procedure. The aftermath will frustrate you so badly. If it is not bad-tasting coffee, your Keurig will lose its nice looks and even start to break down. Horrible experience, right?
I’m sure you want to know the best way to descale your Keurig 2.0 brewer, so I’ll get right into it. You have two options at your disposal. You could use a mixture of water and vinegar or a commercial descaling agent. The result is pretty much the same.
As for which is right for you between the two, it all boils down to budget. Commercial descaling agents are a bit steep and could be unsustainable if you brew often and have to clean your brewer monthly or bimonthly. But if you can afford it, there’s nothing else to worry about. Go for it!
That said, you are going to need a few things for this procedure.
What You Need to Descale a Keurig 2.0
- Large mug
- Keurig cleaning agent/mixture of water and vinegar
- Access to a sink
- Measuring jug
Now, let’s look at the Keurig 2.0 descaling instructions for the two methods.
How to Descale a Keurig 2.0 Using the Keurig Cleaning Solution
Step 1: Preparation
First, make sure your brewer is powered off. Next, empty the reservoir; make sure it has no water in it. If your brewer has a built-in filter, remove it and set it aside. Also, you will have to disable the auto-off feature in case it’s turned on.
Step 2: Pour the Descaling Solution into the Water Reservoir
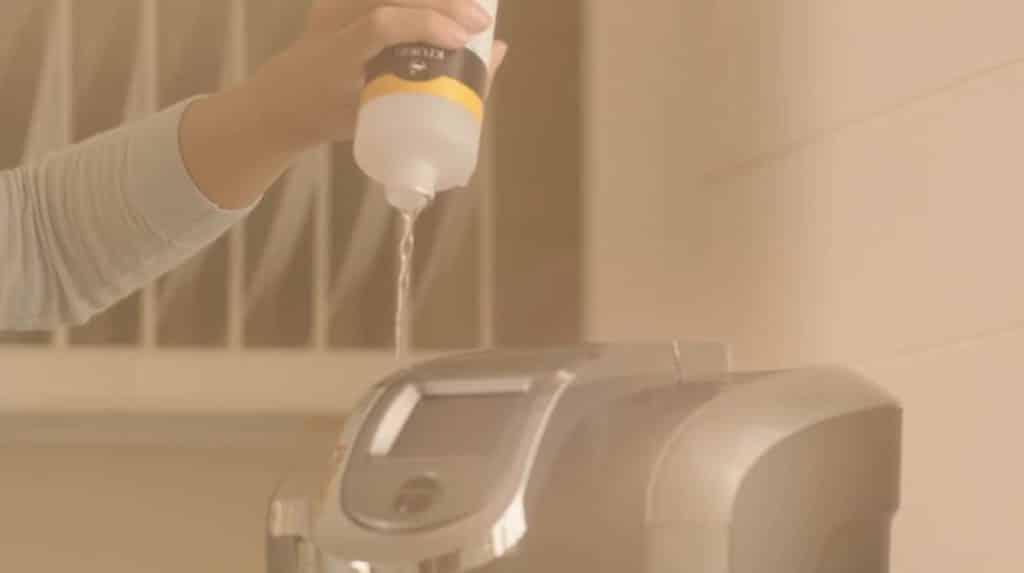
Empty the entire descaling solution into the reservoir. Fill the bottle with fresh water from your tap, and pour it into the reservoir again.

Step 3: Time for a Cleaning Brew
Power on your brewer, and place the mug on the drip tray. Afterward, raise the handle to open the K-Cup compartment. Make sure nothing’s inside. Take out the K-Cup if there’s one.
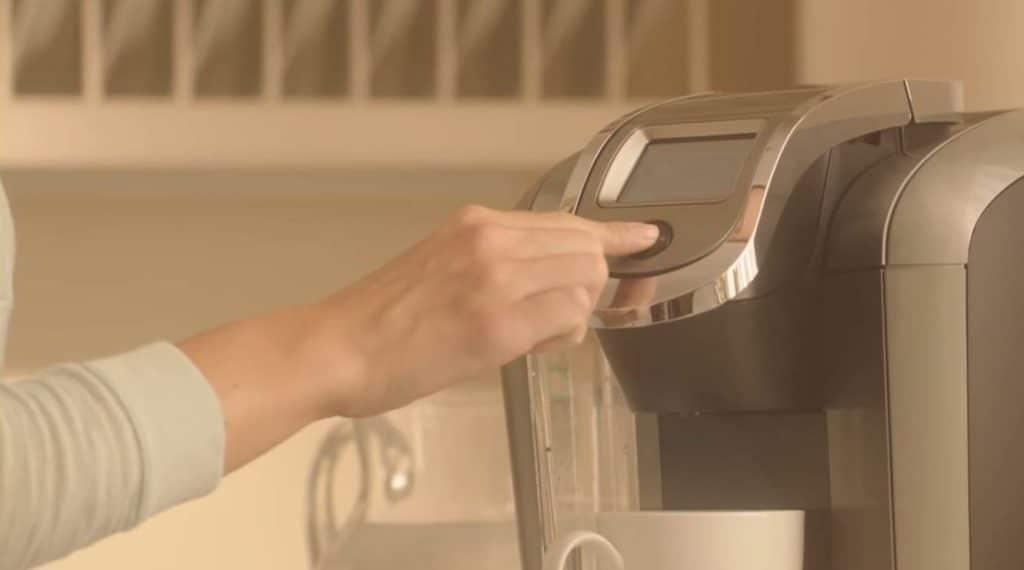
Next, lower the handle to shut the compartment, and then press and hold the brew button. Your Keurig will dispense up to 6 ounces of hot water.

Step 4: Repeat the Process
Pour the dispensed water down your sink, and place the mug back onto the drip tray. Repeat the entire process in step 3. That includes lifting and lowering the K-Cup compartment handle. Keep doing that until the brewer displays “More water please.”
Step 5: Rinse the Reservoir
First off, leave the Keurig turned on for around 30 minutes. This will dissolve the deposits, making sure all of them come out later.
After that, lift off the reservoir and empty the remaining contents into your sink. Rinse it thoroughly with water, then place it back on the machine. Now, fill the reservoir with fresh water all the way to the “max fill” line.
Step 6: More Cleaning Brew
Repeat the process under step 3 at least 12 times. The only difference here is that you are using water instead of a cleaning solution. Note that you will have to refill your reservoir at some point.
And that’s it! Your Keurig has been fully descaled. It’s now ready to brew again!
How to Descale Keurig 2 Using a Mixture of Water and Vinegar
Step 1: Preparation
This step is pretty much similar to what you do when descaling using a cleaning solution. So go back to step 1 under the previous process and repeat every bit of it.
For your mixture, you can use 4 cups of vinegar and 2 cups of fresh water.
Step 2: Pour the Mixture into the Reservoir
Pour around 10 ounces of the mixture into your measuring jug, and then empty the contents into the reservoir and fill it up with fresh water all the way to the “max fill” line.
Step 3: Cleaning Brew Time!
Lift and lower the K-Cup compartment handle, and then press and hold the brew button. The machine will dispense hot water just like it did with the cleaning solution.
It doesn’t hurt to also clean the K-Cup during this step. First, take it out from the compartment. Rinse it with running water, and use a neat piece of cloth to dry it.
Step 4: Repeat the Procedure
Once you have emptied the content in the mug into the sink, repeat the process. Keep doing that until all that mixture has passed through your brewer. When the display says “more water please,” leave the machine to rest for about half an hour.
Once that time elapses, fill the reservoir with fresh water and repeat the process at least 12 times. Ideally, you should get the “more water please” notification three times during this entire process (after the mixture has gone through your brewer and twice as you do more cleaning brews).
Now, Keurig recommends that you use filtered or bottled water in their brewers. The other alternative is a water filter. Stay away from distilled or softened water as it may damage your coffee maker.
Step 5: Test the Results
Refill the reservoir with the recommended water, insert the K-Cup of your choice, and then press and hold the brew button. Do the taste and aroma satisfy your palate? If so, that’s confirmation that the descaling was a success.

So that’s how you descale a Keurig 2.0 using a vinegar and water mixture. Enjoy your coffee now, but don’t forget to do this again in two to three months.
Frequently Asked Questions
Is Descaling Solution Better Than Vinegar?
Both vinegar and descaling solutions deliver impeccable results. Neither is better than the other in descaling your Keurig. But there are a few subtle differences between the two you may want to consider.
For example, vinegar is easily available and comparatively cheaper compared to descaling solutions. But if things go south as you descale using vinegar, the manufacturer may not honor the warranty.
Another downside associated with vinegar is the lingering taste, but this should not be a big deal if you properly follow all Keurig 2.0 descaling instructions in this guide.
Can You Leave Vinegar in Keurig Overnight?
Yes, you can. But this should only be done in instances where your Keurig is clogged. Here’s how to go about it.
Pour the vinegar and water mixture into the reservoir, raise and lower the handle of the K-Cup compartment, and press the brew button to allow the machine to suck in the liquid. Just when it is about to start dispensing, switch off the brewer and let it rest overnight.
Turn it on in the morning to complete the process.
What Does It Mean When the Descale Light Is on a Keurig?
Once the descale light comes on, that’s a sure sign that you need to clean your Keurig. Please don’t ignore it because the debris and limescale build-up are the real culprits behind bad-tasting coffee and defective Keurigs.
Can You Use Apple Cider Vinegar to Descale a Keurig?
The answer is no. In fact, keep apple cider, malt, and balsamic fingers away from your Keurig (unless you want extra rinses and lingering taste). Only use white vinegar.
How Do You Descale a Keurig 2.0? Last Word
It would be sad and even unforgivable to not take good care of your brewer as a coffee lover. And this is not limited to the Keurig 2.0; any coffee maker or appliance needs such care.
I believe you now know how to descale your Keurig 2.0. It’s as easy as the guide puts it! No special or barista-level skills are required. Regardless of the method you use, the result will still be great. You just have to make sure you have done it the right way.
Remember to do the descaling process as often as possible. Keurig recommends it once every two to three months, but don’t hesitate if the descaling light comes on even before then.
Owen is a writer and editor at Caffe Streets who considers himself a coffee fanatic. He spends his time researching and testing different coffee beans and brewing methods and sharing what he learns with others.


