How to Froth Milk with an Espresso Machine Steam Wand
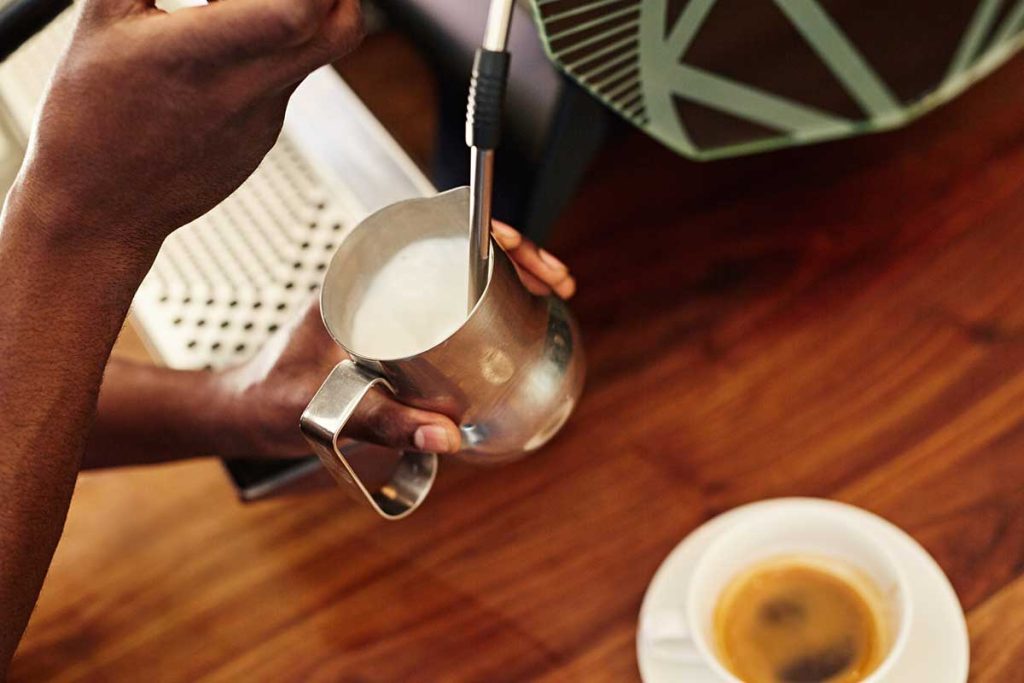
If you have never worked an espresso machine, I bet that you will be a bit surprised by all of the features that it can come with – from the bean hopper to the portafilter, grinder, steamer, and so on. Once you brew the espresso using the machine, you can turn it into a latte or cappuccino using one of these features – the steam wand! In this guide, I will help you learn how to froth milk with an espresso machine.
There are a ton of espresso machines on the market right now. Some of them come with all the features that I have mentioned above while others are a bit simpler. While you can certainly get a simpler espresso machine and a separate milk frother, I always recommend that you get a machine that has a built-in steam wand. If you ask me, they’re more convenient than separate milk frothers.
Steam wands are pretty simple to master once you know what you are supposed to do with them. If you are looking to level up your barista skills by learning how to steam milk, you have come to the right place! Let’s get into the guide and see what you need to know.
Step-by-Step Guide on How to Froth Milk with Espresso Machine
If you want to turn your espresso into a latte or cappuccino, you can achieve that only by adding milk to it. If you are lucky enough to have a steam wand on your espresso machine, you can even make some amazing coffee art on top of your coffee!
Even though frothing milk is considered a simple task, it does require some knowledge and precision. To help you learn how to perfectly froth the milk, I will give you a detailed step-by-step guide that you can use whenever you want to try your frother out. When you are ready, start reading!
Step 1. Gather the Things You Need
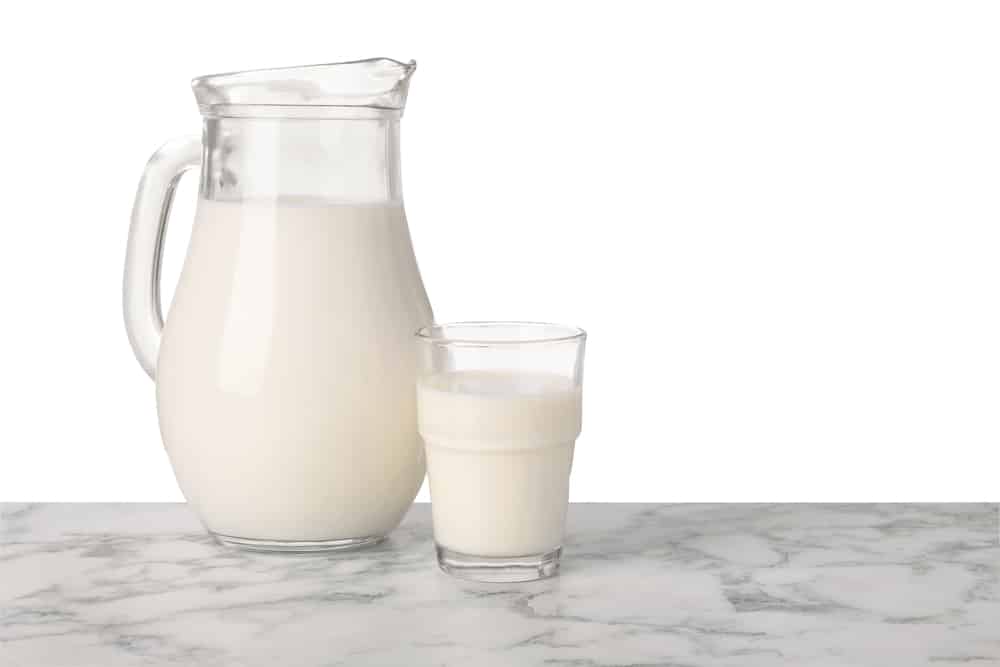
As you would expect, one of the things that you must have by your side is the milk you are going to froth. If this is your first time frothing milk, you can try any milk you want. You can go with skim or nonfat milk, whole or soy milk, coconut, rice, almond, or any other milk that you have drunk before and you think would go well with your coffee.
Then, another thing you should have is a milk frothing pitcher. Usually, the best frothing pitchers are made from stainless steel and can hold enough milk for two large cups of coffee. After looking into it, you can decide on which pitcher you want to get!
Step 2. Prepare Milk for Frothing
Before you get to the actual frothing, I suggest that you cool the milk as well as the frother. Let the milk sit in the fridge for a while, and keep the frother in a cool place as well.
When you want to froth some of the milk, you need to put the milk in the pitcher immediately before frothing it. Once you put the milk in the frother, you can go to the next step!
Step 3. Start Frothing
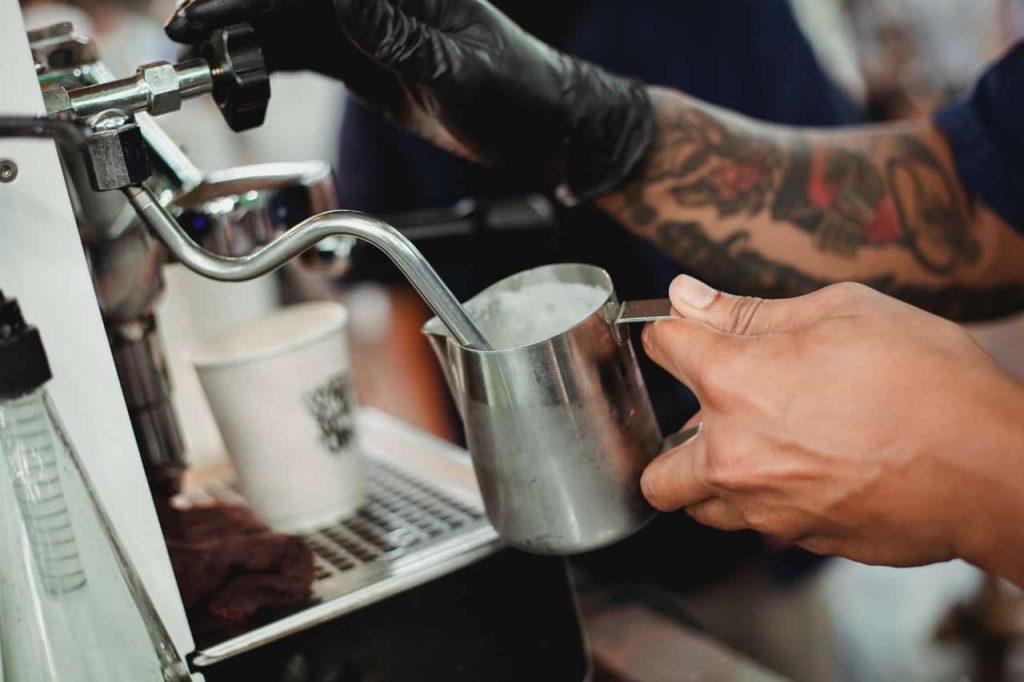
Turn your espresso machine on. Then, get the pitcher and attach the steam wand that you’ll use to froth the milk. It should not go in all the way – the wand should be just below the surface of the milk.
Once you do that, you should turn on the steam. You will see that steam will start to come out of the wand, and it will immediately start aerating the milk.
I would suggest that you make controlled movements with the pitcher. While keeping the wand under the surface of the milk, you should move the pitcher slightly up and down. You should make a kind of a vortex with the frother.
At this point, you will start seeing bubbles form in the milk. You should move the pitcher around the wand so it can break the larger bubbles and turn them into smaller ones. Once you see that the milk is warmed up and it has the consistency you are looking for, you should stop steaming the milk.
A final thing that I suggest you do before moving on is to check and see if there are still some large bubbles in the milk. If there are bubbles, you can try tapping the pitcher firmly from a flat surface, preferably your countertop. This should break the large bubbles into smaller ones.
Step 4. Clean the Steam Wand
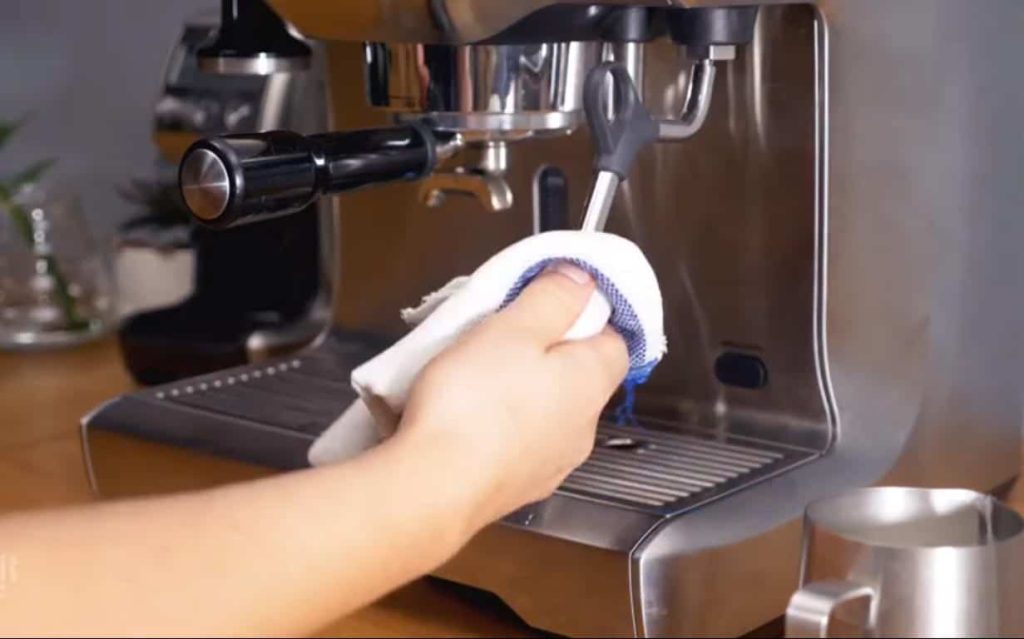
You must do it after each time you froth milk. NEVER skip this step.
Since the tip of the wand goes into the milk, there may be some residue of the milk still in it even after you are done with the frothing.
The cleaning will not take that much effort or time; you just need to wipe it clean and pass some steam through it to make sure there is no milk left inside the nozzle. Any milk left behind will open the possibility of bacteria growing there and compromising the frother.
Step 5. Add the Frothed Milk into Your Coffee

After frothing the milk and cleaning the steam wand, the only thing left to do is to add the milk into your coffee. Pour the milk into it carefully and deliberately so that it looks nice at the very end.
If you’d like to level up your presentation and learn some coffee art, there are a ton of tutorials online of all the types of figures and shapes you can make, so I suggest you take a look and try to recreate the art in your coffee!
FAQs on Frothing Milk
Can you froth espresso and milk together?
Since this guide is about how to steam milk with an espresso machine, you may get the idea to try frothing the milk and the espresso together. While you can certainly do that, I do not recommend it as frothing coffee will cause it to lose its taste.
If you are looking to add some milk to your coffee, make sure that you froth only the milk, and then add it to your shot. That way, you can preserve the taste and crema of the espresso while also not compromising the quality of the milk foam.
What milk is best for frothing?
I mentioned quite a few types of milk above. While I would recommend that you try each one and decide which one you like best, there will be a certain difference in the frothing of each. Usually, whole milk tends to be easily frothed while the other types of milk may require a bit more work.
Another type of milk that is good for frothing is the 2% milk, as well as skim milk. You should also try frothing oat milk, almond milk that is at room temperature, soy milk, or coconut milk. Rice milk, cashew milk, macadamia milk, hemp milk, and some other types of milk do not perform well when it comes to frothing.
Can you use a frother with creamer?
If you are not a fan of milk and you usually use creamer in your coffee, you will surely be happy to learn that the creamer can also be frothed before you add it to the coffee. If you are wondering how to froth creamer with an espresso machine, I can give you some quick instructions!
Get your pitcher and add some liquid creamer to it. Make sure that the creamer is cold. Use the steamer just like I explained in the above guide, froth the creamer until it gets foamy and warm, and then put it in your coffee!
That’s How to Steam Milk with Espresso Machine
After going over this entire guide, I do not doubt at all that you will be able to steam your milk for your lattes or cappuccinos. Make sure that you follow all of the steps given above and that you pay attention during the process of frothing. If you follow everything closely, you should be able to top off your coffee with beautifully fine and creamy froth!
Thank you for sticking with me throughout this guide. Let me know in the comments if you tried frothing milk after reading it and how that all went. I would love to read all about it, so do not hesitate to share your experiences!
Owen is a writer and editor at Caffe Streets who considers himself a coffee fanatic. He spends his time researching and testing different coffee beans and brewing methods and sharing what he learns with others.


