How to Grind Coffee Beans with a Blender When You’re in a Pinch

Waking up to find your trusty coffee bean grinder has broken overnight can be a horrible experience, right along with seeing your favorite ground coffee only available in a whole-bean option. Luckily, there is a solution for this when you are in a pinch! I will show you how to grind coffee beans with a blender.
This easy method is a great substitute for those times you don’t have an actual grinder on hand. Along with a few other home methods, this technique is proof that you can grind your beans at home even if you don’t have a grinder available.
While grinding your beans using a blender at home is an effective solution in a pinch, if you are serious about grinding your beans at home, you should consider buying a top-quality grinder. This will ensure you are grinding up your beans consistently right before you are ready to brew your coffee.
If you are a regular buyer of pre-ground coffee, you may want to consider switching to whole beans. There are several benefits of grinding your coffee beans at home before you brew them using your favorite brewing method.
However, using a blender is not as simple as throwing the beans in and blending them up. It requires caution and a bit of know-how to retain the bold flavors of the beans. I will guide you through this grinding method to ensure you can enjoy quality flavors in your home brew.
When Should You Try This Method?
When you’re desperate.
You know that freshly ground beans make the best coffee. So you have beans but your grinder is busted so you have no way of grinding them. Seriously. Because when you take your coffee seriously, this is seriously the only valid reason you have for committing the sin of grinding your coffee with anything other than a burr grinder.
This grinding method is fairly effective when you need a quick solution to grind whole coffee beans. While using a burr grinder is the best for grinding up coffee, a blender could serve when you’re desperate — as long as you know how to do it so that you get a fairly consistent grind without subjecting your beans to much heat.
Apart from a burr grinder, the other variation of coffee grinders is blade grinders, which work similarly to the blender you have at home. The blades spin through the beans, chopping them up into grounds ready to be brewed. This method may result in slightly inconsistent grinds, but it is better than being stuck with whole beans.
You should use a blender if you are not ready to buy a coffee grinder, if your grinder at home has broken unexpectedly, or if you find yourself with a pack of whole beans when you are not used to using them.
Most brewing methods, including Moka pots, percolators, and some electronic coffee makers, require ground coffee beans.
Using a blender to grind your beans is a simple process and can be done quickly, but the clean-up may take a bit longer. Although, once you are sipping on your freshly brewed liquid gold, it will all be worth it.
2 Areas of Concern when Grinding Coffee with a Blender
Since you are not using the best tool for the task, there are a couple of things to watch out for with this less than ideal grinding method.
Grind Size
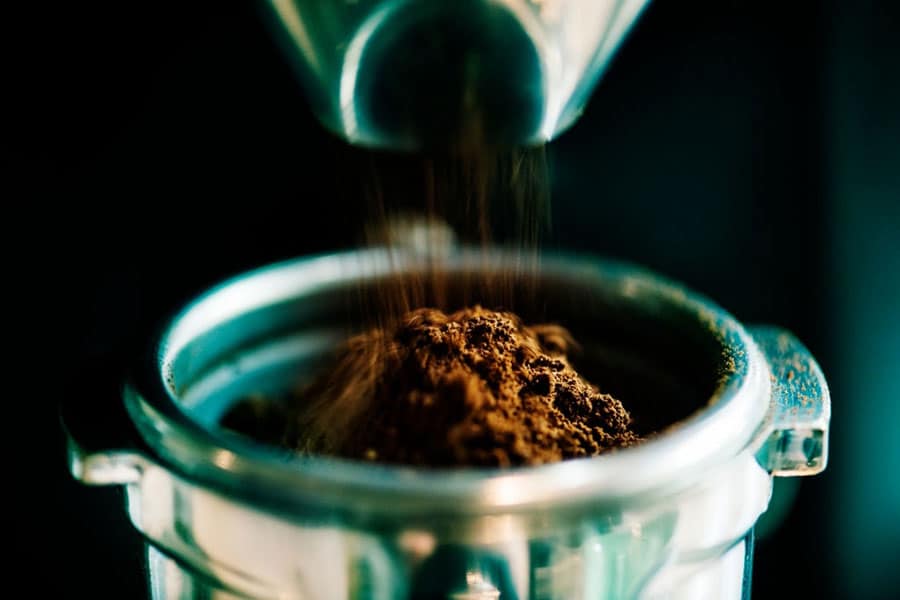
If you use an incorrect grind size, you may experience a bitter or sour brew, which is not something anyone would look forward to in the morning. If you have control over the grinding, you can choose the perfect grind size for your brew, whether it is a medium to coarse grind for a French Press brew or a fine grind for espresso.
When you grind your own beans with a good burr grinder, you can control the consistency. Uneven grounds will also produce unpleasant tastes in your brew. While a blender will not produce the most consistent grinds, just do the best you can and you’ll come up with something drinkable.
Heat
Heat is baaaaadd news for coffee beans. So you have to use your blender in such a way that it won’t generate too much heat so as not to ruin your beans. This may mean pulsing it, not keeping it on too long, or just letting it rest and cool down a bit every so often.
How to Grind Coffee Beans with a Blender
If you are ready to brew up your coffee with some freshly ground beans, then let’s get started. You will only need a few items that you probably already have in your home.
What You Need:
- Coffee beans
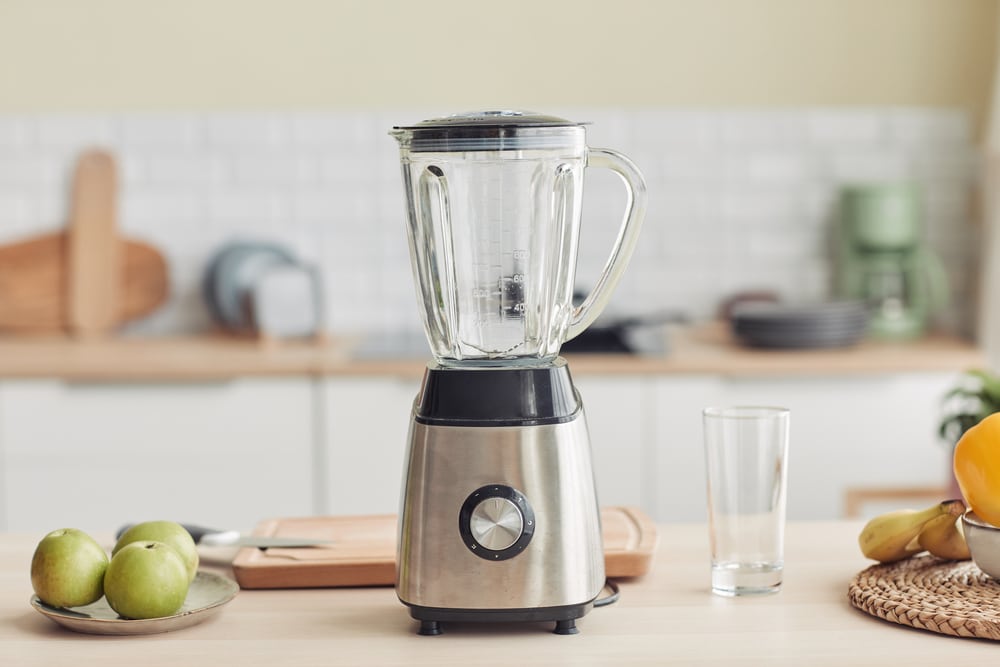
- A blender
- A measuring device
The Method:
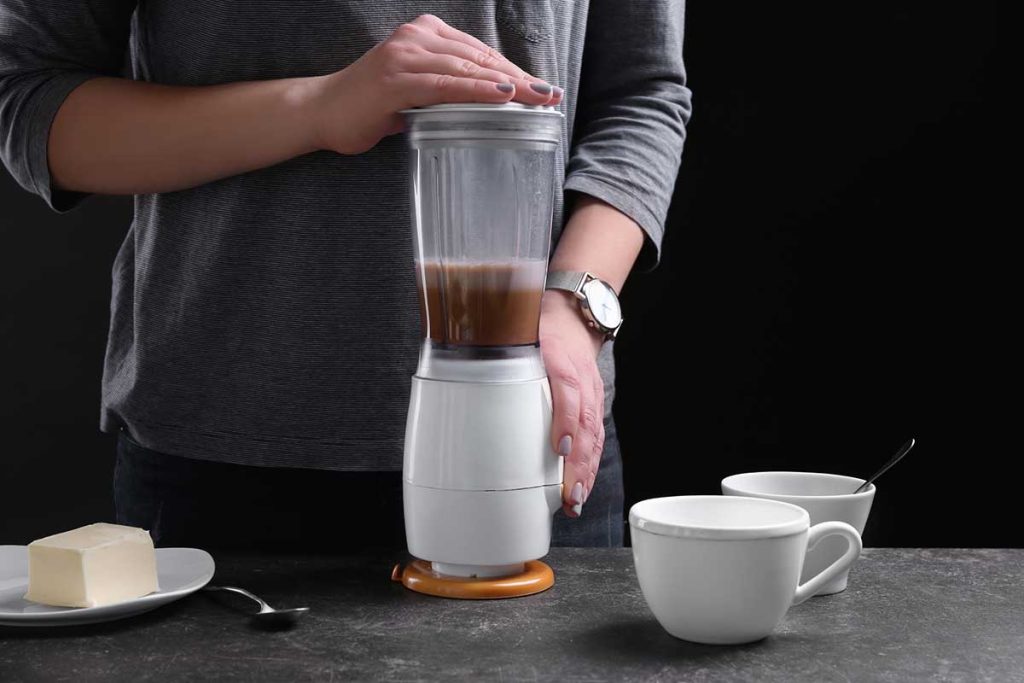
When you are using a blender to grind your coffee beans, you cannot simply throw the beans in and blend them up like you would when making a smoothie. You need to take precautions to ensure you don’t ruin the flavors of the coffee beans.
Step 1: Measure Your Beans
Start by measuring out the number of beans you need for your coffee. This will depend on how many cups you are looking to brew — you should only grind your beans right before brewing. Once you have decided on the amount, grind the beans up in small batches in the blender.
Step 2: Add the Beans to the Blender

You should add your beans slowly to the blender to ensure a more consistent grind. Even though it won’t be as precise as a burr grinder, you will be able to create a more uniform grind if you blend the beans in small batches. If you are using a standard six-cup capacity blender, you can grind ¼ cup of beans at a time. However, you should reduce this amount if you are using a smaller blender such as a magic bullet.
Step 3: Grind or Pulse the Beans
Some lucky blender owners will find a grind setting on their blender designed to correctly grind up your beans. If you have this setting, simply press the start button to begin the grind.
If your machine does not have this setting, you will need to use the pulse setting or just the general blend setting in small increments. It is important to only let the beans grind for up to five seconds at a time. You should also not grind the beans for more than 30 seconds in total, even with breaks in between the five-second blends.
Important: Grinding for too long can burn the coffee beans in the blender due to the high-speed blades. Keep your brewing method in mind and the grind size you need for it. The length of time you blend will depend on how fine or coarse you need your beans to be.
Step 4: Shake the Blender
A good tip to keep in mind is to shake the blender by tilting it while it is blending the beans. This step will help shake the beans toward the blades, resulting in more beans reaching the blades. This will help give a slightly more consistent grind than if you simply left the blender upright.
Step 5: Empty and Repeat
Once you have ground the beans to your desired grind size, simply empty the grounds out of the blender and add the next batch to blend. Keep adding the beans in small batches until you have the required amount of coffee grounds for your brewing.
Step 6: Brew Your Coffee
Now, all that is left is to brew your coffee using your desired brewing method before sipping on the flavorful warm cup of coffee.
Watch this guy do it with a Vitamix and geek out on the analysis.
Additional Tips When Grinding Beans in a Blender
Accept the Inconsistency
You won’t be able to reach a perfectly consistent grind using the blender to grind up your beans. It is best to accept this now so that you don’t over-blend your beans while trying to reach your desired consistency.
However, if you shake and tilt the blender while you are grinding or pulsing the beans, it will help create a more consistent grind because the beans will move closer to the blades, allowing more beans to be ground during the blend.
Don’t Burn the Beans
Using the blender to grind your beans is a tricky method since it is easy to overheat the beans — and burned coffee is bad, bitter coffee.
Since the blades in the blender spin at fast speeds, they can easily generate heat when the blend cycle is too long. This is why it is important to blend in five-second increments with a break in between to allow the blender to cool down.
Clean the Blender Properly
Once you have brewed your coffee and taken a moment to savor the bold flavors of your favorite beans, it is time to get back to reality. This means cleaning your blender properly. You can follow the instructions for your specific model, but be sure not to skip this step.
If you don’t clean out your blender, you will be unpleasantly surprised when your next smoothie tastes like stale coffee. Even if you are only going to grind up beans in your blender, it is important to remove the old coffee dust since it will go stale and ruin your next brew.

FAQs
Do my coffee beans need to be ground consistently?
Your coffee beans don’t have to be ground consistently in order to use them to brew coffee. However, evenly ground beans will drastically improve the taste of your coffee. Coffee beans’ flavors are extracted and steeped into hot water at a rate based on the surface area of the beans. So, if the surface areas are vastly different, the brew will be inconsistent and produce a bitter cup of coffee.
How can I ensure my beans are ground consistently?
Using a burr coffee grinder that is designed for coffee beans is the easiest way to ensure a consistent grind for your coffee beans. The burr mechanism effectively funnels the beans through the burrs, ensuring each bean is ground up in the same manner.
Will grinding beans ruin my blender?
Grinding beans will not ruin your blender, but constantly using the blender for grinding coffee beans may cause the blades to become blunt quicker. If you are using a plastic blender, the sides may get scratched from the hard beans. Using a glass blender will prevent scratches and prolong the lifespan of the blender.
Get Ready, Get Set… Grind Coffee Beans in a Blender
There are many ways to grind your coffee beans at home that don’t require a specialized coffee bean grinder. Using a standard blender you have at home is one of these methods. As long as you take care not to blend the beans for too long, you can enjoy flavorful ground coffee.
Grinding up your coffee beans at home is important to ensure the freshness of the coffee as well as the grind size and consistency. Now, all that is left is to brew up a flavorful cup of joe using some beans from the best coffee subscriptions available.
Owen is a writer and editor at Caffe Streets who considers himself a coffee fanatic. He spends his time researching and testing different coffee beans and brewing methods and sharing what he learns with others.


