How to Use a Moka Pot: An Easy Guide
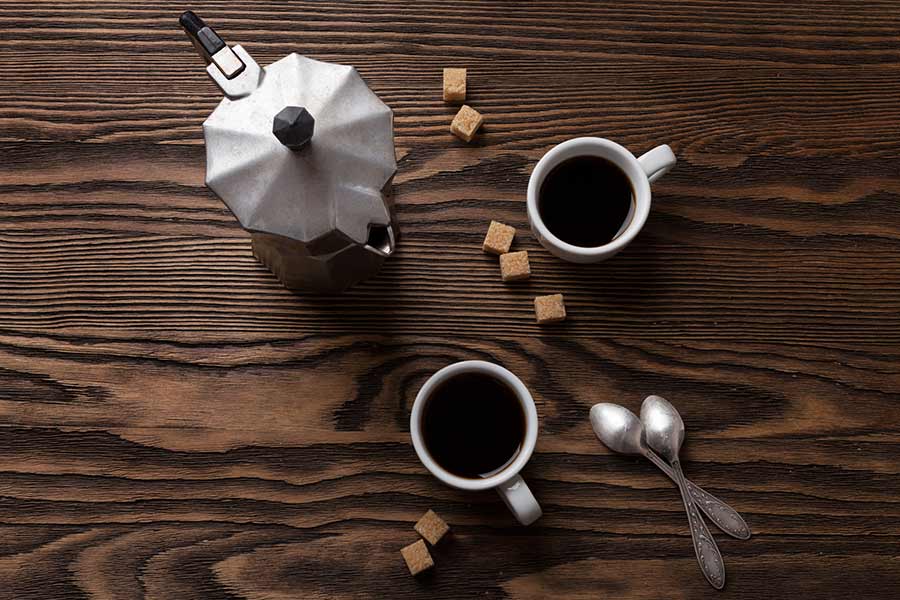
Throughout my lifetime (or at least since becoming more interested in coffee), I have given numerous types of coffee and coffee brewers a shot. When it comes to coffee makers, I have tried out everything from the drip maker to the French press, various manual and automatic espresso machines, and so on. The latest coffee-related thing I did was learn how to use a moka pot properly.
And let me tell you… the coffee I made with the moka pot did not disappoint. I went over numerous videos and articles trying out the best ways to use this coffee brewer, and all that effort was not for nothing. Today, I can proudly say that I make a mean cup of moka pot coffee, and I can help you learn how to do the same yourself!
In today’s guide, I want to tell you what a moka pot is and how to use it, as well as some important do’s and don’ts. After you go over all these things, you will know exactly how to brew coffee with the moka pot and bring out the best flavors from it. With that, let’s get right into the guide!
What Is a Moka Pot Exactly?
Even though I think most people know what a moka pot is, I would still like to give a brief explanation of it for all those who do not know much about it. If you feel like you already know everything there is regarding moka pots, feel free to move right into the next section.
A moka pot is essentially a coffee maker that you can use to make very strong coffee. This is a traditional Italian brewer made from three different parts that you need to put together when brewing coffee. There is one separate chamber for the water, there is a filter-like chamber for the coffee grounds, and finally, there is another chamber that the coffee flows into as it brews.
In that final chamber I mentioned, there is a filter on the bottom that is very similar to the filter baskets you would use with an espresso machine. I know that it can be somewhat challenging to understand exactly how this type of brewer works considering that the coffee flows from the bottom towards the top and not the other way round. However, I will give you more details on the whole brewing process and what you need to do in the following section.
Moka pots are very convenient and easy to use, they are usually not that expensive, and they come in various sizes and colors. It will be difficult to pick just one because there are so many amazing moka pots available on the market. If you are a person who likes strong coffee that can be prepared easily, I recommend that you look into moka pots and get one as soon as possible.
How to Use a Moka Pot: Step-by-Step Guide
Now that you know what a moka pot is and some of its basic characteristics, I want to go into more detail on how you can use the pot to make coffee. The process can be somewhat challenging – if you do not know the proper steps, you will end up with a cup of very bitter coffee that you will most likely not enjoy.
This is why I want to tell you more about the best way to brew coffee with the moka pot. Follow the steps given below whenever you want to brew yourself some coffee.
Step 1 – Grind Your Coffee Beans
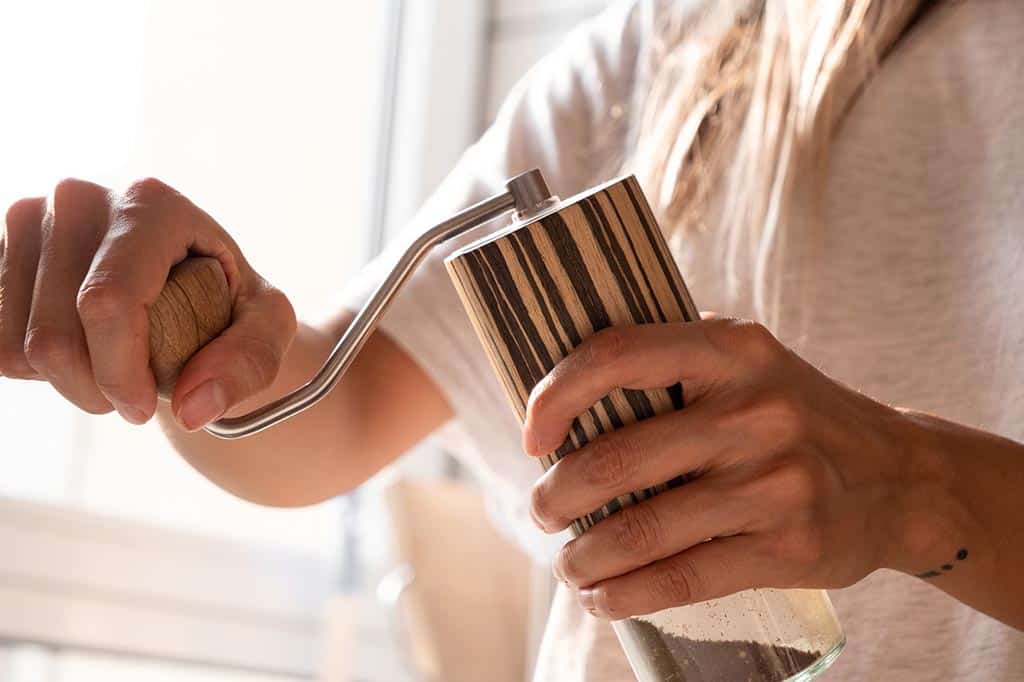
First things first, you need to have beans that are a bit coarsely ground. Beans that are very finely ground will not perform well with the moka pot, so keep this in mind before starting your brew.
The best thing would be for you to get some fresh whole beans for your moka pot and grind them at home right before the brew. That way, the coffee will taste better and you will be able to grind the beans to the level of coarseness you need. Once you prepare the beans, move on to the next step.
Step 2 – Fill the Lower Chamber with Water
Grab your moka pot and separate all its parts. In the lower chamber, put some hot water. Use hot water only; never go with cold water because that will compromise the taste of the coffee.
Make sure that you do not go above the max line or you will have a bit of a problem brewing your coffee. Once you do that, move on to the next step.
Step 3 – Prepare the Moka Pot for Brewing
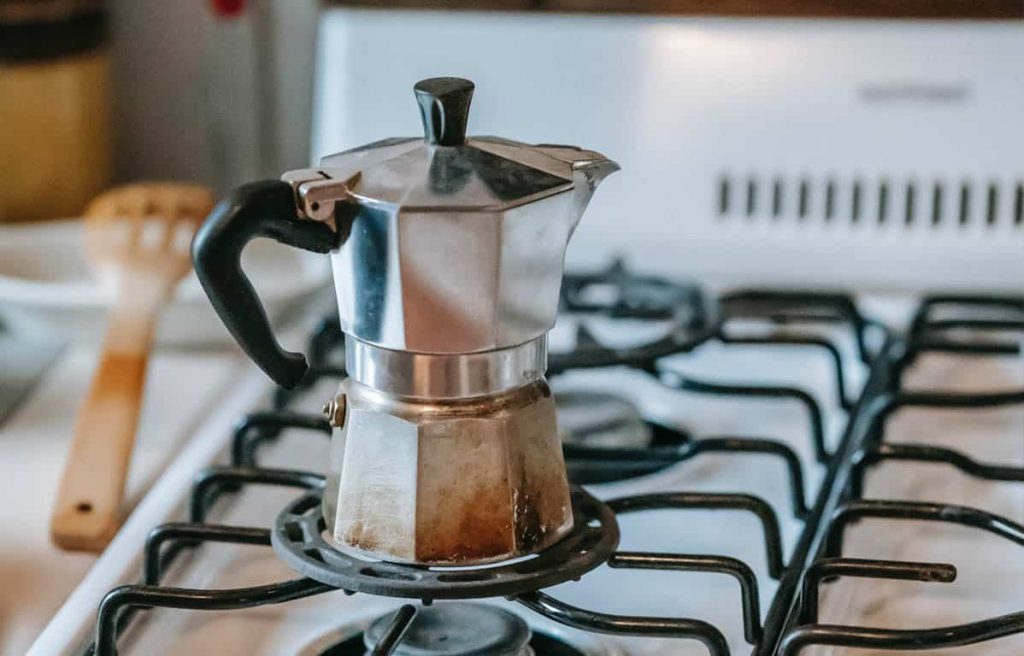
Now that you have poured hot water into the lower chamber, put the chamber with the coffee grounds on top of it, and secure everything together by adding the final chamber on top! Make sure that you have put the parts together properly.
Then, with the lid of the moka pot open, place the pot on your stove. Turn the stove on and wait for the coffee to start brewing.
Step 4 – Know When to Remove the Brewer From the Stove
If you look at the top chamber, you will see that there is one upright part in the middle with side holes near the top. These holes are where the coffee will start pouring from. It should not take too long for you to start seeing the coffee pouring from those holes into this top chamber.
You must know exactly when to remove the brewer from the stove – that is immediately after you hear the gurgling sound coming from the pot. If you leave the coffee on the stove for some time after that, you will compromise the taste of your coffee. Chances are that you will be left with a cup of very bitter coffee that you will most likely not like, so you should avoid leaving the moka pot on the stove for too long.
Step 5 – Clean the Moka Pot and Enjoy Your Coffee!
Once your coffee is all ready, pour it into your cup and enjoy it. However, do not forget to go back to the moka pot and clean it as soon as possible. Cleaning it is very important for the longevity of the brewer as well as the quality of the coffee. The cleaner your brewer is, the better your coffee will taste!
FAQs on Moka Pots
I am sure that you are eager to try to make coffee with a moka pot, but I want you to dedicate your attention to this guide for just a while longer. Now, I will mention a few frequently asked questions concerning this type of brewer. Let’s get right into them!
Is moka coffee as strong as espresso?
Even though moka coffee can be very strong, it will usually not be as strong as espresso. This brewer is quite different from the espresso machine and has a very different extraction method that makes the taste of the coffee somewhat different.
Still, keep in mind that moka coffee will be very strong. It will be a perfect balance between a strong espresso and a mild cup of drip coffee. If you are into coffee that tastes like that, then you must get a moka pot for yourself as soon as possible!
Why does my moka pot coffee taste burnt?
Your moka pot coffee will usually have a burnt taste because you have used cold water and it took too long for the water mixed with coffee to heat up. This is why I always recommend going with hot water from the very beginning.
It would be best if you use an electric kettle to preheat the water. You can also preheat the water using a stove. Whatever your heating method is, just be sure to get the water to a boiling point before adding it to the moka pot and starting your brew.
A Great Alternative to an Espresso Maker!
Thank you for sticking with me through this guide! I hope that you find all this information on the moka pot useful and that you’ve gotten a good idea on how to use it well, and what to avoid doing when brewing coffee with it.
If you have any other tips or tricks regarding moka pots that you would like to share, please do so in the comments below. I would love to know more about your experience with this type of coffee brewer, so do not hesitate to share it with me!
Owen is a writer and editor at Caffe Streets who considers himself a coffee fanatic. He spends his time researching and testing different coffee beans and brewing methods and sharing what he learns with others.


