How to Clean a Breville Espresso Machine the Easy Way
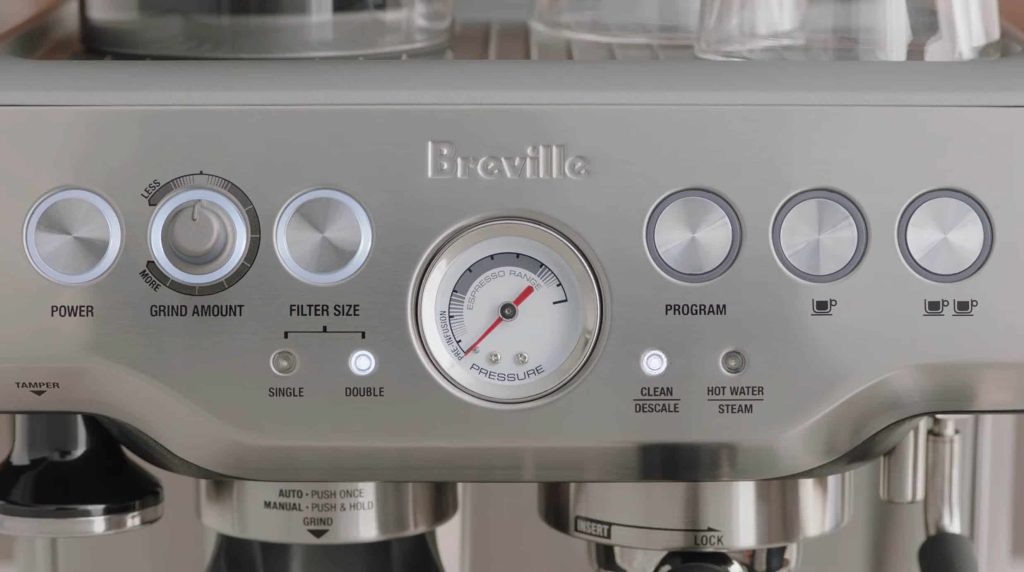
You have just bought the Breville espresso machine of your dreams and your mornings have not been the same since. Congratulations! I know this feeling all too well, and as much as I don’t want to spoil the party for you, I can’t help but wonder if you know how to clean Breville espresso machines.
If you have never done this before or aren’t sure how to do it properly, it would be best to set aside a few minutes to learn the steps. This actually can’t wait, because the life of your Breville espresso machine partly depends on cleaning.
You could ignore it but it won’t be long before things go south. The shots will lose their delicious taste, the machine itself will start to act up, and brewing will no longer be fun. I tell you more below on why you should clean your unit, and later on I show you how to go about it like a pro.
Keep reading to learn!
Why Cleaning Breville Espresso Machines Is Important
As they pull delicious espresso shots for you, Breville espresso machines also gather mold, bacteria, limescale, and other unhealthy contents that not only threaten your health but also the unit’s performance.
You will inevitably have to deal with this at some point. Oils and minerals will develop in pipes where water passes. Steam wand cheese will form in the path of milk, and if not removed, the flavor of your coffee will be ruined.
Removing all these build-ups before they become a menace will save you from bad-tasting coffee and clogging. In the end, you will have a well-performing espresso machine that will last longer and serve you without fail.
You are probably wondering how often you should do this. There’s a deeper cleaning which you will have to do every once in a while, but everyday cleaning matters too. I’ll walk you through both. First, you will need the following items:
What You Will Need for Everyday Cleaning, Deeper Cleaning & Descaling
- Soft brush
- Pin cleaning tool
- Breville cleaning tablets and disk
- Allen keys for unscrewing the parts
- Soft cloth or towel
- A large jug for collecting the liquids on non-coffee cycles
How to Clean Breville Espresso Machines: Everyday Process
Everyday cleaning of your Breville espresso maker will help a lot in maintaining its optimal performance. Most of the tasks are simple and will only take you a few minutes:
Drip Tray
Some units will alert you when there’s a need to clean the drip tray. Alternatively, you can wipe off the drip tray and empty the residues into a trash can after every brewing cycle. This will prevent build-up of residues that could result in bad smells or mold.
Filter Basket
Some coffee grounds will remain stuck on the filter basket after brewing. Tap it on the trash can to dislodge them, clear any blockages in the holes using a pin, then use soapy water and a warm cloth to rinse it.
Grind Bin
Used coffee grounds gather here. The bin should therefore be emptied every day to avert the growth of mold and other unwanted contents.
Steam Wand
We all know how stinky milk can get if it stays beyond its shelf life. Picture the same happening inside your unit’s steam wand. Nasty, right? Your brew will be a complete mess. You can avoid all that by cleaning it daily.
Run the steam after every brewing cycle to clear off any residues. Wait for the wand to cool down and then wipe it off with a soft clean cloth. If there are stubborn blockages, use a brush or other cleaning tool to remove them.
Wipe Down the Machine
You do not want stains and dirt to form outside your Breville espresso machine because it will look unhygienic and age faster. Use a damp soft cloth to wipe down its surface.
Cleaning Breville Espresso Machines: Deep Clean Process
Even though everyday cleaning goes a long way in keeping your Breville espresso maker in its pristine state, it’s still not enough. There’s more you have to do to ensure that your unit continues to perform optimally.
Deep cleaning can be done once every one or two months, depending on how frequently you use the machine.
Brew Head
This is the last place coffee goes before emptying into your cup. With time, coffee residues may build up inside and cause blockages; however, you don’t have to wait for this to happen to do the cleaning.
Start by initiating a brew cycle using water with the portafilter locked into place. Repeat until the water that comes out is clear. Go a step further and use a cleaning pin to unblock the holes in the filter.
Bean Hopper/Grinder
While crushing your beans, oils and other residues may lodge onto the grinder and hopper. The leftovers can take away the freshness of your coffee beans, and this will cause a negative effect on the flavor of your drink.
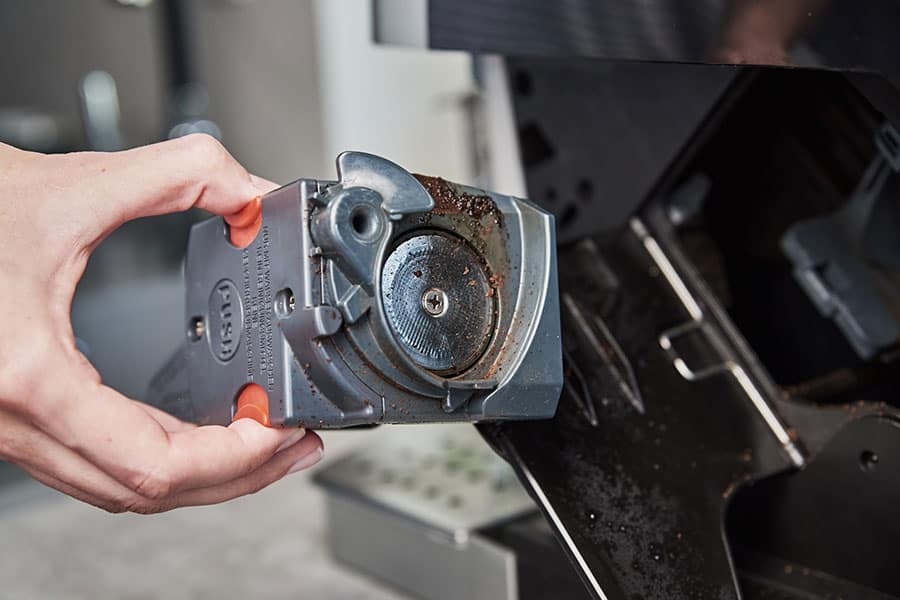
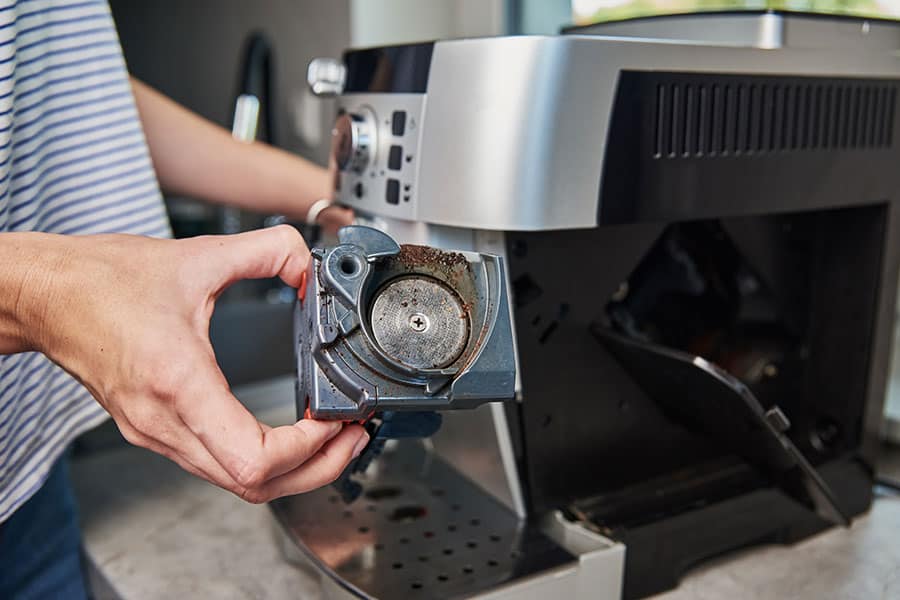
Rinse the hopper with a clean piece of cloth and use a brush to knock off old grounds and any dirt that’s stuck on the burr grinder. Do not use water or soap to clean the burrs because this will make them rusty and eventually unusable.
Water Filter
The water filters in your Breville espresso machine need to be changed or cleaned every 3-4 weeks. Check their state to ascertain whether they need replacement or cleaning.
Old water filters are not as effective as new ones and can encourage the growth of bacteria and mold. You can easily get a new one from the manufacturer or online shopping platforms.
Cleaning them, on the other hand, is an easy process. Just remove them from the holder, soak them in a suitable cleaning solution for a few minutes, and then rinse them off with a piece of cloth. Lock them back into place and you will be good to go.
Self-initiated cleaning aside, sometimes your Breville espresso machine will give a cleaning alert. You should not ignore these even if you have done a deep clean recently. Here’s what to do.
Cleaning Breville Espresso Machines Using Tablets
Espresso machines come complete with a cleaning disk and tablets. This is what you should use when the unit begs for cleaning. It’s a simple process that you will be done with in just a few steps.
First, flush out the machine by running an empty brew cycle. Then complete the following steps:
Step 1: Carefully place the cleaning disk in the filter for one cup.
Step 2: Place the cleaning tablet in the disk hole at the center.
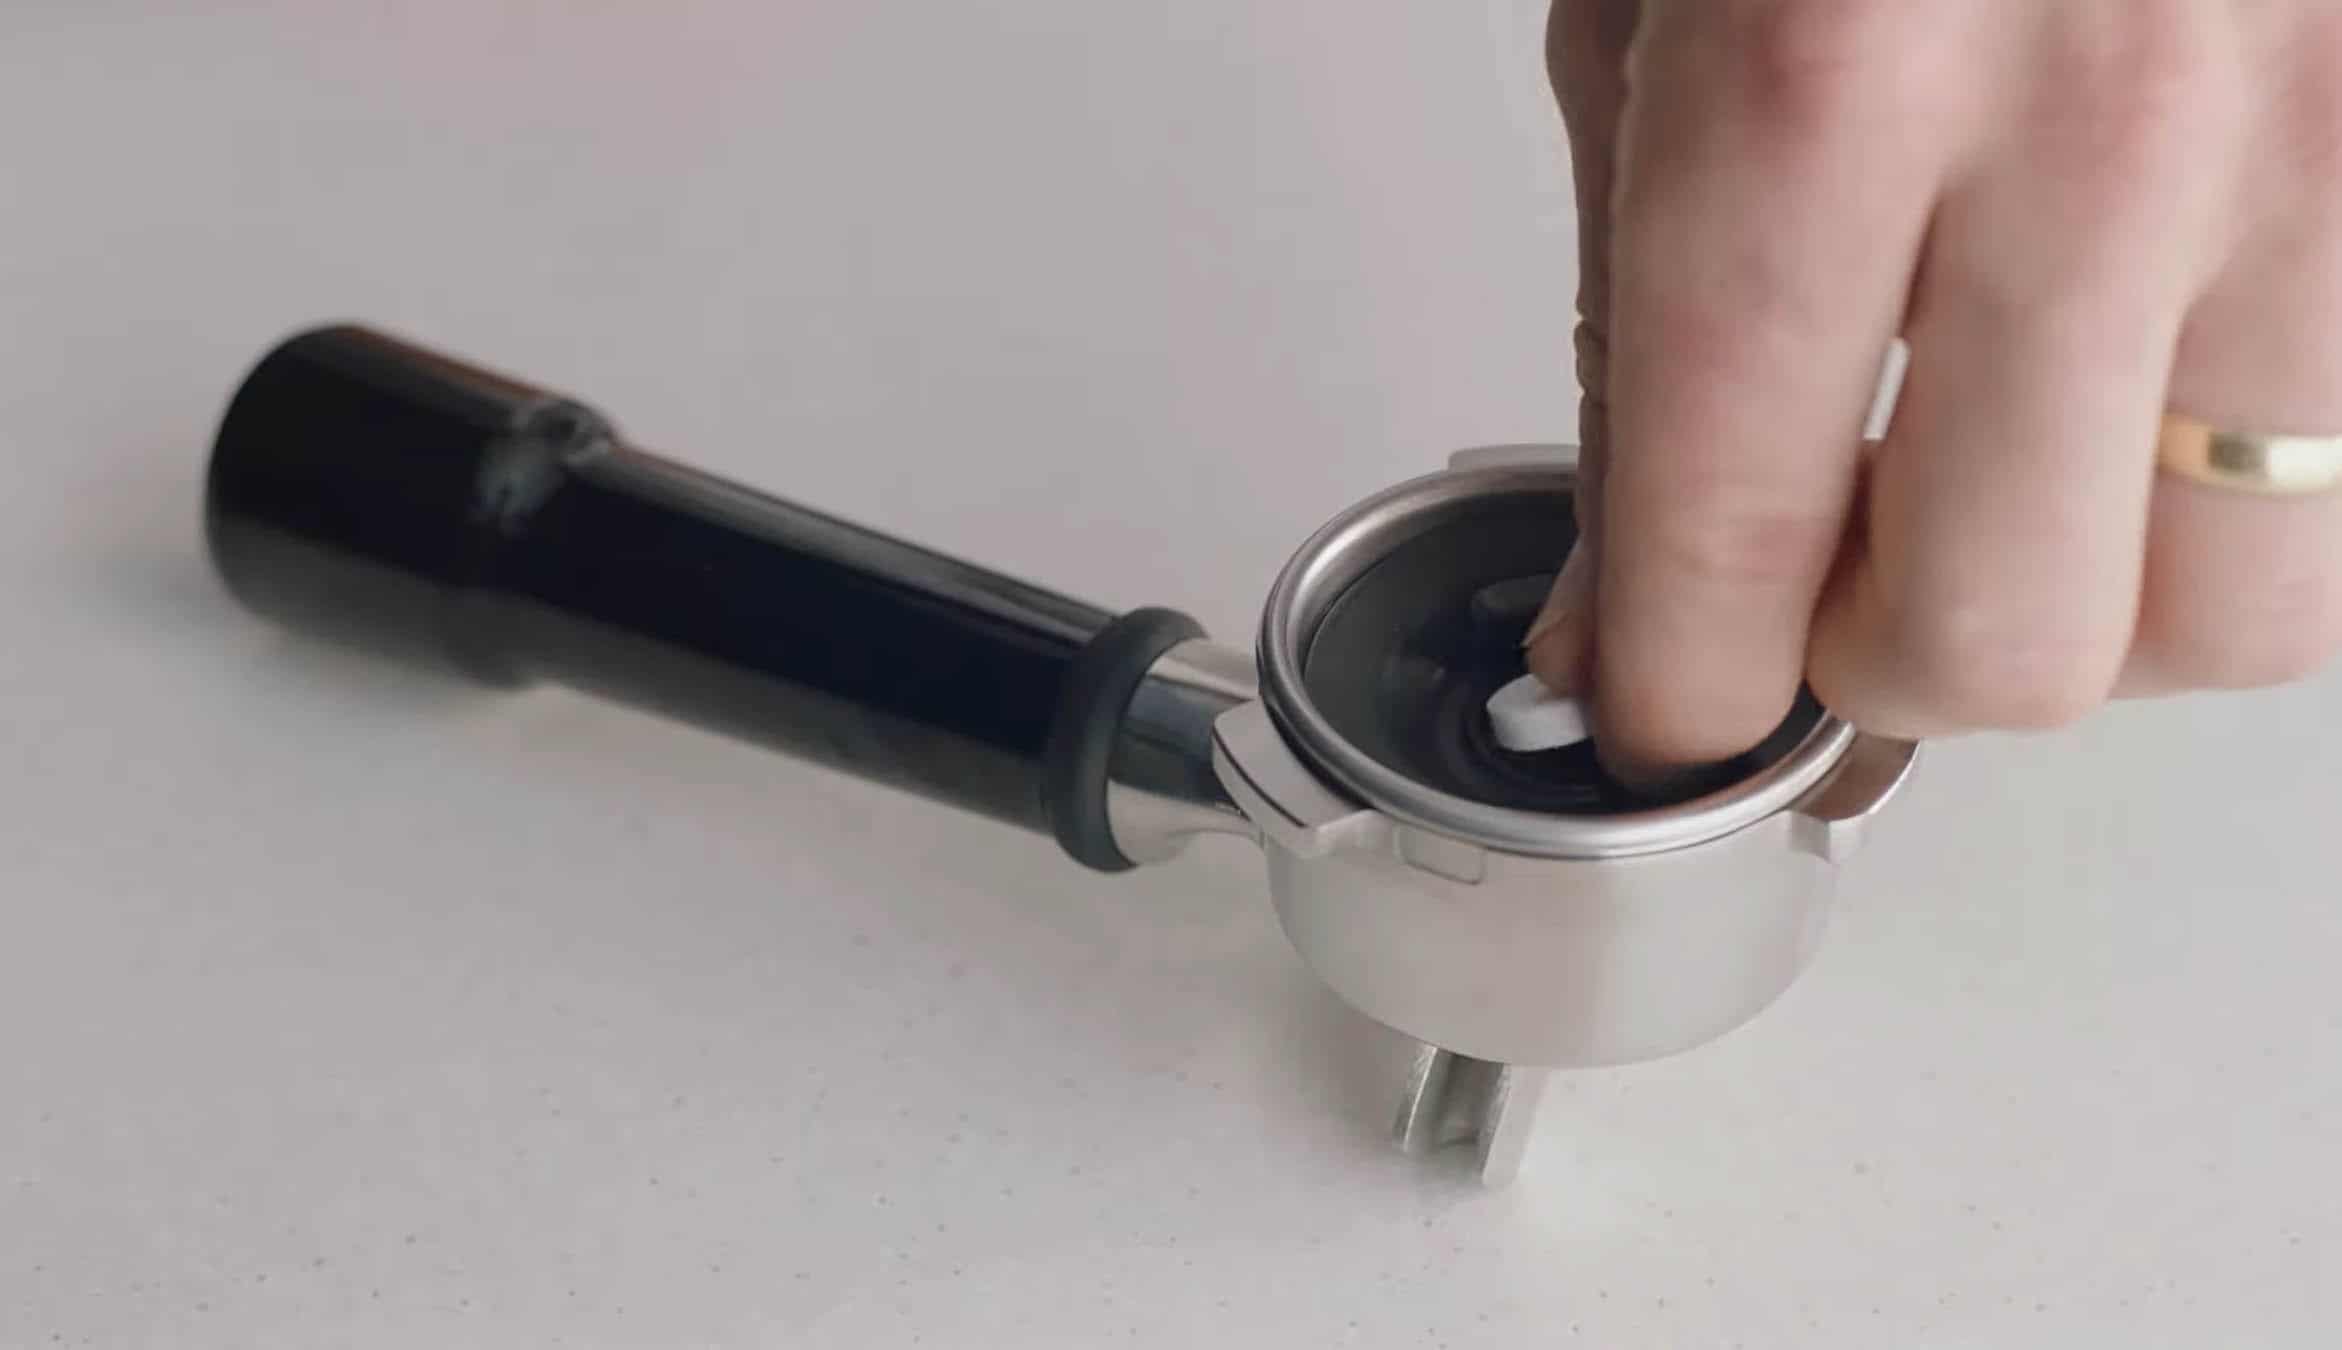
Step 3: Lock the portafilter back into the espresso maker as you would when preparing espresso.
Step 4: Press and hold the following buttons at the same time: power, one cup, and two cup buttons.
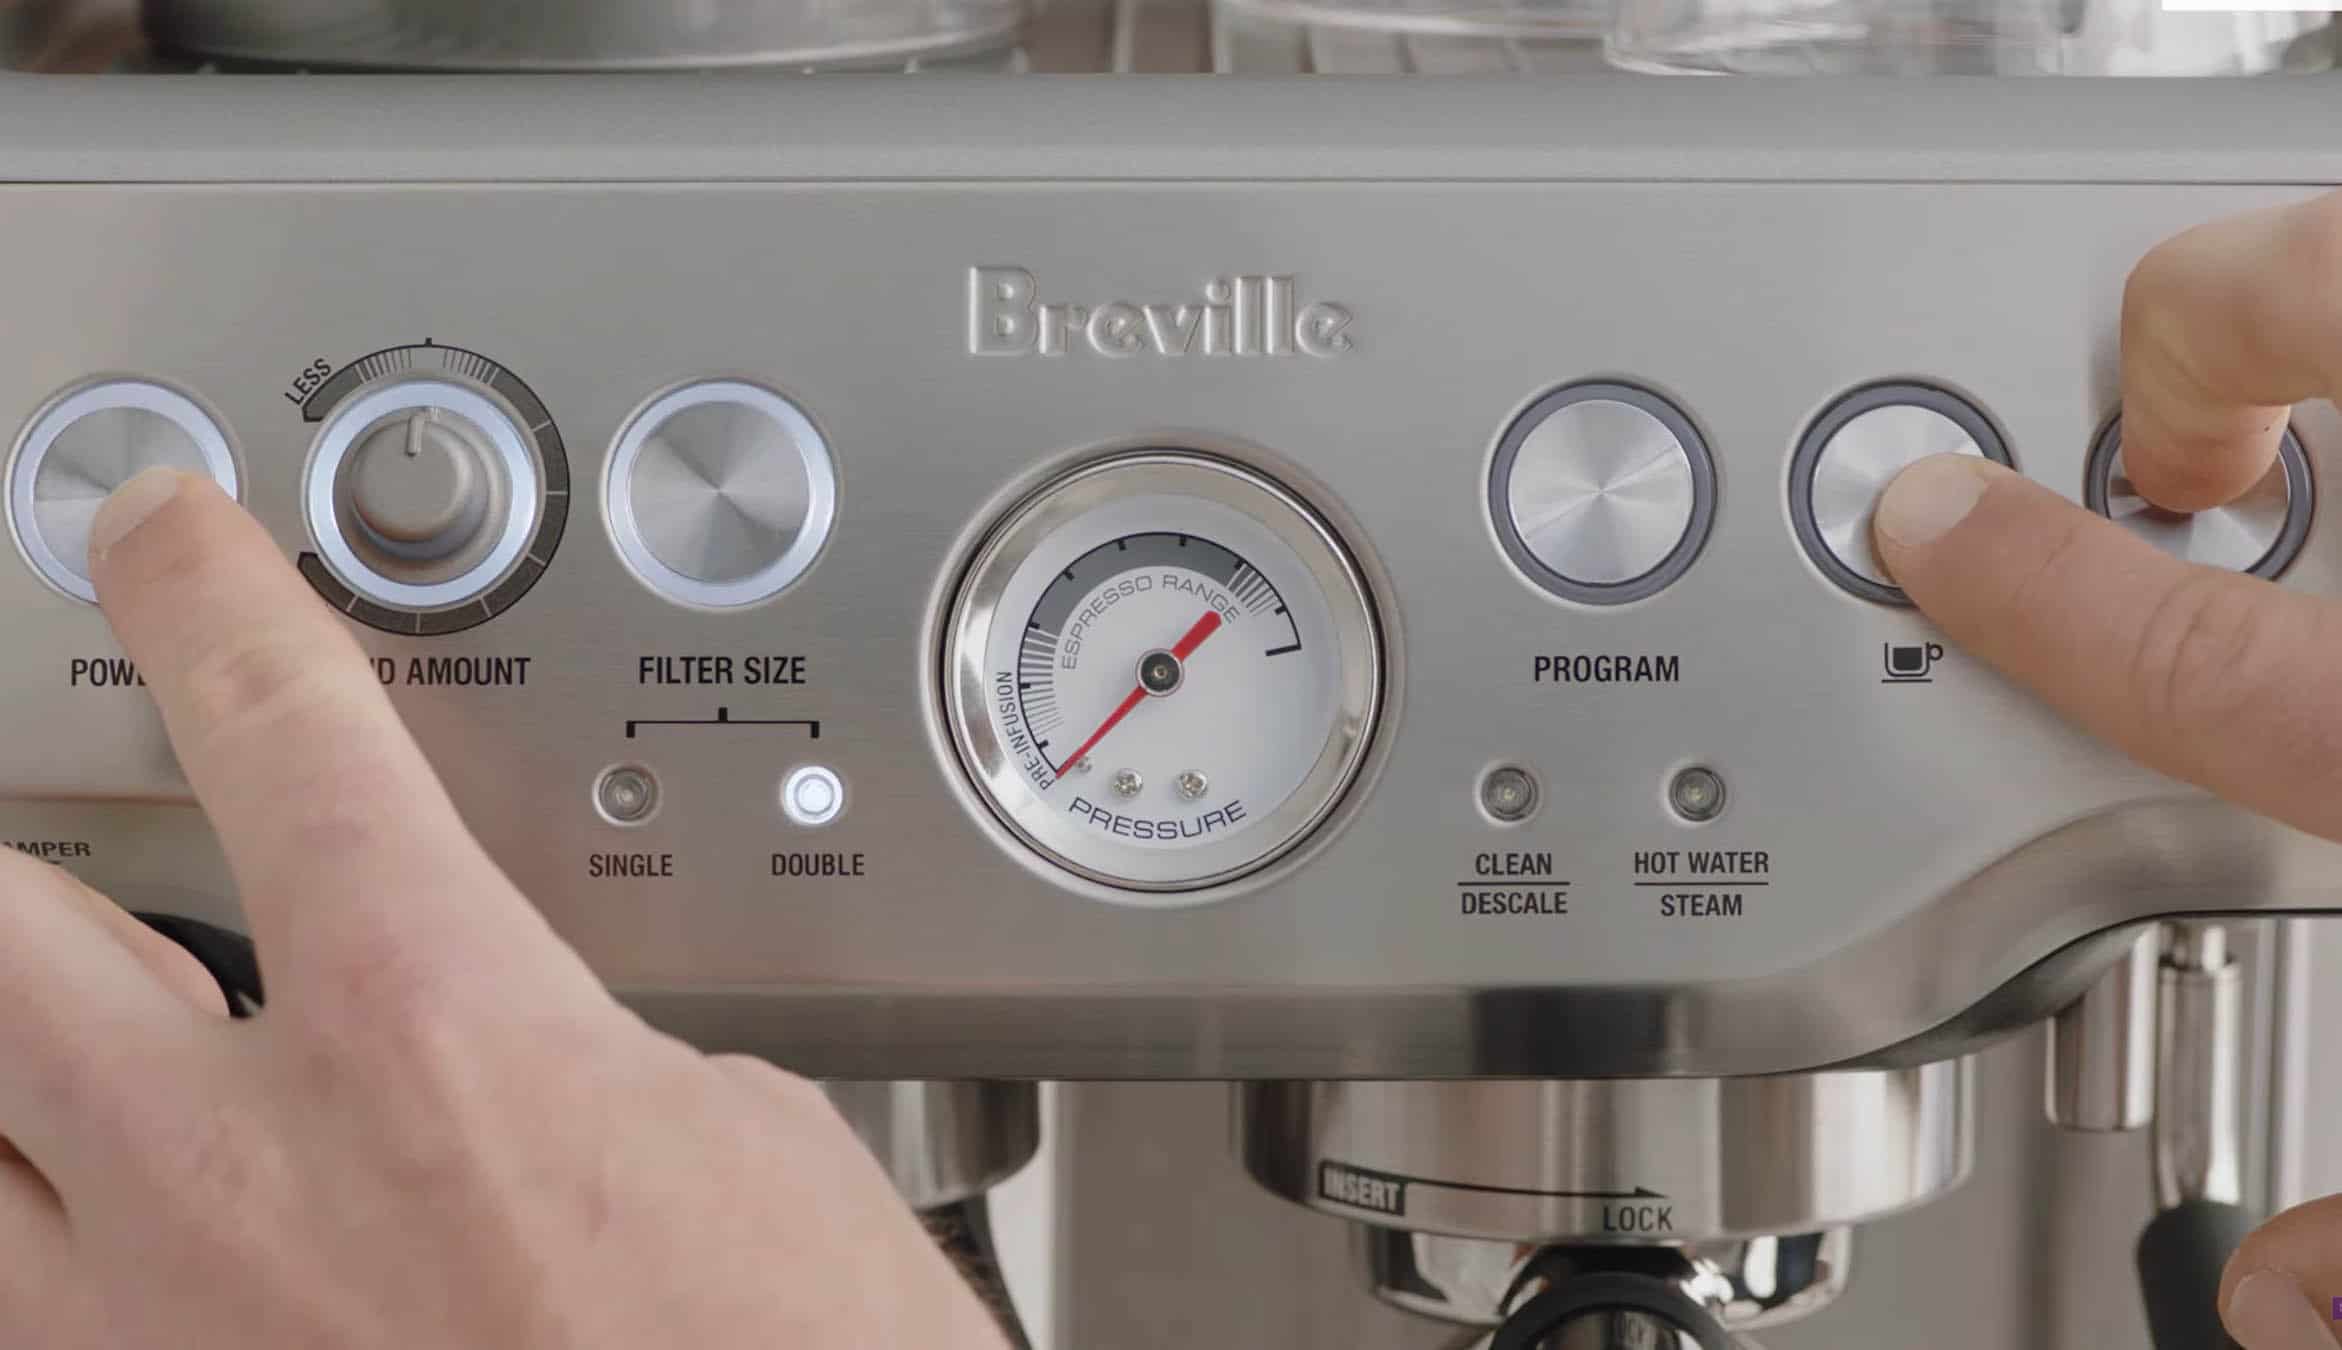
Step 5: When the cleaning light flashes, that’s a sign that the cleaning has started.
Step 6: As soon as the cleaning cycle ends, initiate a brewing cycle but use only water to rinse off the machine.
Sometimes the cleaning cycle will not be activated. Do not panic when this happens. Go back to the instructions and follow the steps laid out by the manufacturer.
How to Clean a Breville Espresso Machine Without Tablets
The lack of cleaning tablets does not mean that cleaning can’t go on. There’s another equally great alternative: vinegar. The process of cleaning Breville machines using vinegar is as follows:
Step 1: Mix water and vinegar in equal parts and pour the mixture into the unit’s water reservoir
Step 2: Activate the brewing cycle and run it until the water reservoir is empty
Step 3: Refill the reservoir again, but this time with clean water
Step 4: Run several brew cycles using only water, to rinse off the machine and avoid a vinegary aftertaste
How to Descale a Breville Espresso Machine
The next thing you will want to do after cleaning your espresso machine is descaling. It’s easy to confuse the two so I’ll clarify them to clear any doubts.
Cleaning removes oils, leftover coffee grounds, residues, and other unwanted things that accumulate after a certain period, while descaling is done to get rid of all the limescale and calcium deposits that build up in the machine over time.
Descaling is best done by cleaning solutions that have been specifically designed for Breville espresso machines.
Remember the cleaning tablets I talked about earlier? They do a bang-up job when it comes to descaling Breville espresso makers. The vinegar-water mixture does an equally excellent job; just follow the same steps.
Another solution you can try is a descaling solution. Some come in liquid form, while others are available as powders. You will have to mix either with water, run several brew cycles until the reservoir is empty, and then flush out the remnants using clean water.
Frequently Asked Questions
Can I use my Breville espresso machine without a filter?
Water, especially from your tap, contains minerals that can bring down the performance of your Breville espresso maker. Calcium and magnesium are the common culprits. If neglected, they will create a layer inside the pipes and other parts of your machine, eventually causing blockages.
Filters help to keep some of those unwanted minerals out. A few may get through, but descaling will get rid of them. Without a filter, you would have to descale at least 2-3 times a month to keep your machine working at its best.
Is descaling solution better than vinegar?
Both products will descale your espresso machine thoroughly if used properly.
Because the acid in vinegar is not as strong as that in descaling solutions, you will have to run more brewing cycles in order to effectively remove all the limescale and calcium in your unit. Vinegar also has a strong flavor, so more cleaning will be needed right after the descaling to remove the vinegary aftertaste.
Descaling solutions, on the other hand, are relatively quick in descaling. Also, they have no flavor so they are less likely to compromise the flavor of your brew; however, they cost more than vinegar.
Can you get sick from not cleaning your Breville espresso maker?
The simple answer is yes. When you fail to clean your espresso maker as required, molds and harmful bacteria can begin to thrive inside it. Both are known to cause serious health concerns.
Final Word
I will sum up Breville espresso machine cleaning with this statement: Take good care of your Breville espresso maker and it will reward you with consistently great service.
You do not need any special skills or knowledge to clean and descale this unit. Every step is straightforward. You can always come back here for reference if you feel lost, and if the steps fail to work, go back to the manual and check to see if you missed anything.
Make sure you have all the cleaning tools ready before starting the process. Many of them are easily available at your local store. For special ones such as cleaning tablets and disks, buy from the supplier or authorized distributors.
Start with daily cleaning and then, after a month or two, do the deeper cleaning. Watch out for any cleaning alerts as well. When the “clean me” light flashes, swing into action right away.
Owen is a writer and editor at Caffe Streets who considers himself a coffee fanatic. He spends his time researching and testing different coffee beans and brewing methods and sharing what he learns with others.


