How to Make Coffee in a Microwave Oven for an Instant Caffeine Fix

Can you make coffee in the microwave? Yes, you can. But do you really want to?
Microwave coffee is quick and convenient. Say you’ve been working for a while, got lost in the zone, and grabbed your mug. It’s ice cold! Should you brew a fresh cup or nuke the one you have?
Fresh is always better, so if you have a grinder and a coffee maker on hand, take a break and make a fresh batch. But if all you have is the office microwave, you can still make it work. Do you know how to make coffee in a microwave, though?
First, decide what you mean when you say coffee.
You’re probably thinking of a plain black cuppa joe. Or maybe you prefer it with milk or a creamer. And you’re not thinking about espresso or latte or anything that involves frothing wands, pressure pumps, or coffee art, since those aren’t feats you can easily achieve in a pinch.
That said, you can still make a decent cup of coffee in the microwave. The method will differ if you’re using instant coffee or ground coffee, so pick your process based on your preference. And remember not to add milk, sugar, or creamer until after your coffee is done brewing.
How to Make Instant Coffee in the Microwave
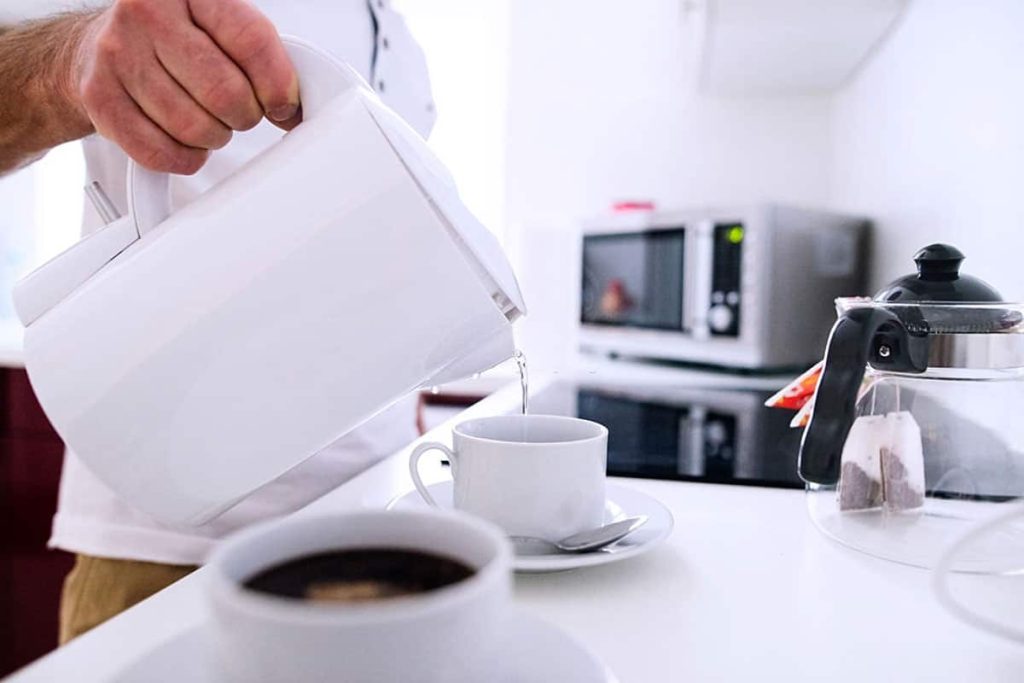
Maybe your office brewer isn’t a coffeemaker-grinder combo and you’re out of grounds and don’t have access to a grinder. Or maybe you’re stuck in the library doing some last-minute cramming so all you can access is an electric kettle and a microwave. You’re desperate and you’re going to have to settle for instant coffee.
To make instant coffee in a microwave, you have two options: You can boil plain water and mix coffee into it, or you can put all your ingredients in a cup then pop it in the microwave. The latter method is easier and in some ways more intuitive.
But remember, half the joy of coffee is in the smell. So if you put instant coffee into a cup of water, then put that in the microwave, most of the smell will be released inside the microwave. So everyone in the room will soak up that scent and there’ll be none left for you!
So just use the microwave to heat your water, and it’s important you do it with plain water, without sugar, milk, or additives. These ‘extras’ will change how the liquid boils, making it potentially more explosive. This also means you shouldn’t use mineralized, sparkling, flavored, or distilled water. Regular tap water is fine.

Step #1: Heat Your Water
You already know your ideal sipping temperature. But to brew effectively, the water needs to be scorching. Timing will depend on how fast your microwave works, so keep a close eye on it.
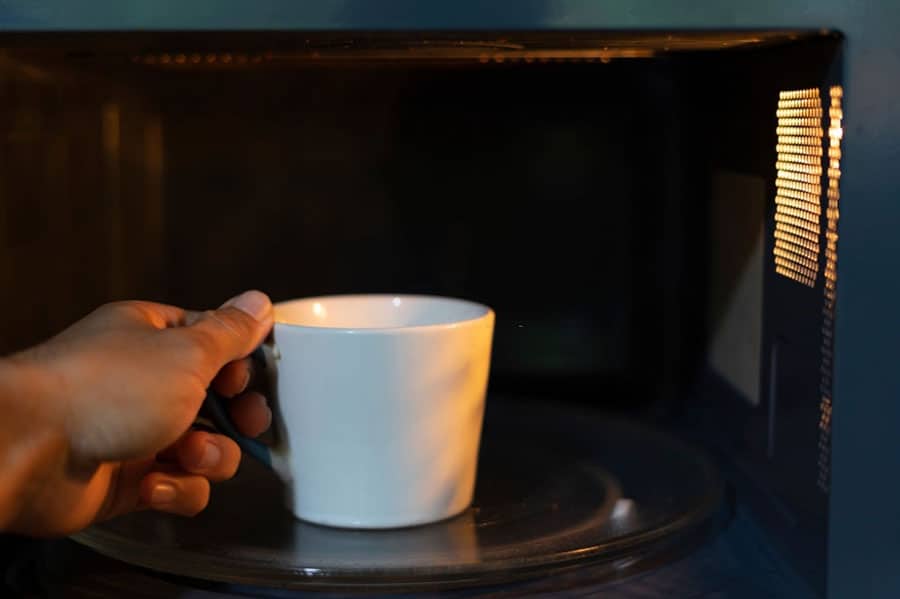
Most microwaves have an internal light and see-through door so use a clear cup, carafe, or mug that lets you watch the water. When it starts bubbling, stop the microwave but don’t take the water out immediately. Let the hot water settle before opening the microwave door.
Step #2: Rest for a Moment
The reason you don’t open the microwave immediately is for safety. Pulling out that bubbling mug can make the water spill into your palms and scald you.
But even when the water isn’t visibly bubbling, there’s still a risk because of how microwaves work. They ‘vibrate’ water. This means they generate heat by moving water molecules at immense speeds. And these molecules continue to shimmy and shake even after the water stops boiling. So if you immediately add coffee to the cup or carafe, it could cause explosive agitation and burn you.
Step #3: Gently Add Your Instant Coffee
You should only wait five to 10 seconds or the water will be too cold. Now slowly add your instant coffee into the cup of hot water. The amount will depend on the size of the cup or carafe, how many people will drink your microwave coffee, and how strong you like it.
As for the type of instant coffee to use, you’re probably restricted to whatever brand is available in the pantry. Or maybe you grabbed a can on your way into the office. The cheaper the coffee, the worse it will taste, especially since you’re nuking it, so choose with care.
Step #4: Add Your Preferred Sweeteners or Creamers
This isn’t technically part of microwave brewing since the mug is now outside the machine. But it’s still an important step. If you’re brewing your microwave coffee at work (or at a conference), you’ll probably take it black or use whichever milks and creamers are on offer.
But if you’re microwaving your coffee in the house, you might pause to find the handheld frothing wand and sneak some foam into your mug. And in that case, be sure to use the right kind of milk to get the best foaming results. Otherwise, use any mix of additives you prefer.
Step #5: Stir, Sip, and Enjoy
You don’t want to have to come back to the microwave to rewarm your milk – that would be procrastinating! So you could make the most of your coffee break by sitting by the microwave to enjoy your steaming drink. This way, you’ll get it down before those aromas waft away.
Plus, physically shifting from your desk and spending a few minutes away provide a far more effective break. But if you’re in a meeting and have to get back to the boardroom, pour your microwave coffee into a thermal travel mug so you can lock in its flavors and retain that scent.
How to Brew Filtered Coffee in the Microwave
If you know how to make good coffee, then you’ll know how to make coffee in a microwave that will pass your standards. No need to settle for a sub-par brew.
The key is to treat the microwave simply as a method for heating water for brewing. All the other steps to making good coffee apply — which means you may have to buy yourself some pour-over gear or conjure up a makeshift one, MacGyver style.

Step #1: Boil the Water for Brewing
The water has to hit 200°F and be visibly bubbling. You may not like your coffee that hot, but you need those heat levels to effectively extract the flavor and aroma from your microwave coffee mixture. Use a transparent microwave-safe mug or carafe.
And don’t fill it to the top! The water needs room to bubble without spilling. Spilled water isn’t a big deal, but it’s hot, so it’ll burn you. Also, you’re brewing in a microwave so you’re probably in a rush. No time for clean-up! You could place a toothpick or popsicle stick in the cup to avoid forming cold spots.
Step #2: Find a Filter
If your office or home has a lot of coffee drinkers, you probably have paper filters lying around. Even at a conference, meeting, or event, organizers know better than to offer ground coffee without filters. If you brought your own grounds, you probably carried filters too.
On the off chance you can’t find filters, you may have to jerry-rig some. You could use sturdy paper towels. Or an old college trick is to use tube socks. So if you’re at a convention, grab some socks from the gift shop! Or make a ‘coffee bag’ for steeping by folding the grounds with a clip.
Step #3: Find a Filter Basket
You need a pour-over container to hold your coffee filter. This could be a large, perforated strainer or a coffee dripper—some are ceramic and others are mesh. You could use a plastic funnel; many offices have one lying around. Or grab one from a nearby grocery store.
If you’re really desperate, look for a plastic water bottle—conventions are full of them! Slice off the top and flip it to make an emergency coffee filter. You can also covertly raid the water dispenser and grab a disposable cup. Slice out the bottom and voilà, there’s your funnel!
Step #4: Measure Your Coffee Grounds
Place the paper filter in your chosen coffee funnel and wet the paper slightly before placing it over the mug. Do this carefully so the priming water doesn’t end up diluting your coffee or spilling on the counter. Now put the filter and its makeshift brewing basket on the mug.
Swiftly pour your pre-boiled water over the grounds and through the coffee. As you pour the coffee, gradually lift the funnel or filter basket so you can see the coffee below. If you’re using a DIY coffee bag, submerge the bag in the water and press it with a fork so it can fully steep.
Step #5: Clean Up and Drink
Yes, you’re in a hurry to get back to cramming or brainstorming. But this is a communal space! You don’t have to do the dishes or scrub the counter. But you can toss out the filter paper and put the funnel or dripper in the sink. And yes, it’s a good idea to sit there and sip.
You may feel like you have to run back to work, but the whole point of a break is to jumpstart your body and mind, so sit for a few minutes, inhale that aroma, and sip that decadence. Unless you’re the one running the event—in which case load that thermal mug and go go go!
FAQs About Microwave Coffee
The biggest benefits of microwave coffee are speed and convenience. But you may still have questions. Here are a few to start you off. If you have others, leave them in the comments!
Does microwave coffee taste different?
If you’re using the microwave to reheat coffee that you brewed earlier, then yes, it will taste different. Your beverage will have oxidized, flattened, and sat in a cold cup for ages. So it will taste bitter and stale even after you reheat it.
Making coffee using a microwave only takes a few minutes, so you’re better off dumping it out and nuking yourself a new cup. That aroma is worth it!
How do I clean coffee spills from the microwave?
The safest way to clean your microwave is to wipe off any visible stains or residue with plain water, then steam the microwave. Get a microwave-safe bowl and fill it with hot water. Add either white vinegar, lemon slices, or salt to the water. Stir the bowl then run the microwave for a few minutes. It needs to stay running until the glass fogs up with steam. Open the microwave and wipe off the steam, then leave it open for a few minutes to air dry.
You could also try a few drops of dishwashing liquid in the bowl … but you risk the soap bubbles over-foaming in the microwave. And it could take an hour of rinsing to get all that soap out!
Will all my other foods smell like coffee?
As a coffee lover, you may not mind that heavenly aroma leaching into other dishes. But even the staunchest caffeine addict probably doesn’t want caffeinated pizza. The aroma of coffee generally dissipates in a few minutes, though, even while you’re brewing. So it’s unlikely to pass on to other microwaved foods. Still, if you’re worried, put a bowl of dry baking soda in the microwave when you’re done brewing. It absorbs the coffee smells and some of the oils.
Can I make frothy milk in the microwave?
Yes, you can. But as you wait for the milk to foam, your coffee will be getting cold so you need to time it right. Put the milk in a microwave-safe dish with a lid and shake it to start off the agitation. Don’t put the lid in the microwave, though. Instead, heat the milk uncovered for 30 seconds or so. That should be sufficiently frothy for sweetening, blending, and creating coffee art.
Zap It Up!
Good coffee isn’t necessarily about the machine or brewing appliance. So whether you’re using a microwave or one of the best coffee makers, start with good coffee beans then roast, grind them, and brew.
Owen is a writer and editor at Caffe Streets who considers himself a coffee fanatic. He spends his time researching and testing different coffee beans and brewing methods and sharing what he learns with others.

![How to Make Coffee in a Microwave Oven for an Instant Caffeine Fix 2 Mount Hagen 3.53oz Organic Freeze Dried Instant Coffee | Eco-friendly Coffee Made From Organic Medium Roast Arabica Beans | Organic, Fair-Trade Coffee Instant [3.53oz Jar]](https://m.media-amazon.com/images/I/41cv-2Z7XZL.jpg)


