How to Use a Keurig 2.0 — Full Guide

Keurig is one of those names that you are likely to come across whenever you are looking for something coffee-related on the internet. This is a well-known company that has been making some of the most affordable and easy-to-use coffee machines for years, with the Keurig 2.0 being their most recent line. In this guide, I will tell you how to use your Keurig 2.0 to brew the best coffee ever!
The Keurig 2.0 brews a mean cup of coffee to get me started with my day, but it also helps me throughout the day when I feel drained and no longer willing to do anything.
In case you have never tried this coffee maker before, this guide will help you learn how to use it and get the most from it. The process is by no means difficult, but I think you still need some guidance before you use it for the first time.
What You Should Know Before the First Use of the 2.0 Machine
Before I get to the instructions on how to use a Keurig 2.0 and get it to brew some amazing coffee, I want to take some time and explain what makes this machine so great. Unlike some other coffee makers that are pretty limited in the type of coffee they can brew, this machine has a lot of options that you can explore. They are all adjustable, which makes this quite the versatile brewer.
In addition to all those settings, there are several parts of the machine that you need to learn how to use. I will cover information on all of them separately, so I encourage you to go over everything before you use the coffee machine for the first time.
Water Reservoir
When you first get the Keurig 2.0, you will notice that the machine comes with a water reservoir that is not permanently attached to it. The fact that you can remove the reservoir whenever you want is something that you will benefit greatly from since this makes it so much easier for you to fill and clean it.
The water reservoir comes with a secure lid. On some of the Keurig 2.0 models, you can find a water filter in the reservoir. The filter helps keep the water clean at all times, and that will prevent you from drinking contaminated water. On the filter, you can find a date that tells you whenever you need to replace it.
As for the reservoir itself, it is pretty large and can hold a decent amount of water. I recommend that you add new water every day and that you give it a nice rinse before you fill it for the day. You should use regular dish soap and some lukewarm water when rinsing it.
Drip Tray
Now, let’s talk about the drip tray. Just like I mentioned with the water reservoir, this drip tray is removable as well. This enables you to clean it easily in case of any spills or leaks from the machine.
For me, a removable tray is a must because I like to drink a lot of coffee… and I mean a lot! I use a large cup whenever I brew coffee, and what I have noticed is that machines with non-removable trays do not allow you to put big cups on the tray. The space is too tight for the large cup, let alone a carafe.
This is where the Keurig 2.0 ranks above other machines – the fact that you can remove the drip tray should tell you that not only can you use any size cup you want, you can even use a big carafe with it! If you are a person with a large family or you like to have guests over often, you will benefit greatly from being able to use the machine to make a carafe of coffee. Who has time to slave over the machine for hours, am I right?
Settings
I have touched upon some of the settings so far, but I would like to elaborate on them a bit more. Since there are several types of Keurig 2.0 models, not all of them will have the same settings. Some will come with fewer settings, while others will have more adjustable settings, so that is something you should keep in mind.
Generally, what most Keurig 2.0 models allow you to do is choose the brew size. You can use different pods to brew a cup of coffee, a mug of coffee, or even a whole carafe. Keep in mind that pods made for a cup of coffee cannot be used with a carafe and vice versa – you have to get the special type of pod for different brew sizes.
While on the topic of brew sizes, you can choose between several of them and even set your defaults on the machine. You can choose between 4, 8, 12, 16, and 18 ounces. The carafes are suitable for four to five cups or more.

On some Keurig 2.0 models, you can choose the temperature of the brew as well. You can even set timers to have the machine automatically turn on in the morning and turn off at night. These are settings designed to make your life easier – and they have certainly done that for me!
But my favorite feature is the reminder to put the cup or carafe under the machine. Silly old me – I always forgot to put my cup under the machine with my previous machine, and I would end up with coffee dripping all over my counters. With this machine, that is no longer an issue I have to worry about!
And there are other reminders that you should know about – the water filler reminder and the clean-up reminder. With all these reminders, there is no chance that you will miss anything.
Coffee Pods
When it comes to the coffee pods, there are a lot of options for you to choose from. The company sells a lot of K-Cup pods that you can use with the Keurig 2.0 machine. While it is not suitable for any other type of pod, there are enough K-Cup pods for you to switch things up!
If you go to the company’s website, you will find more than 400 different K-Cups available. Some of them are from licensed vendors, so you can get your favorite Starbucks or Dunkin’ Donuts flavor and brew it at home.
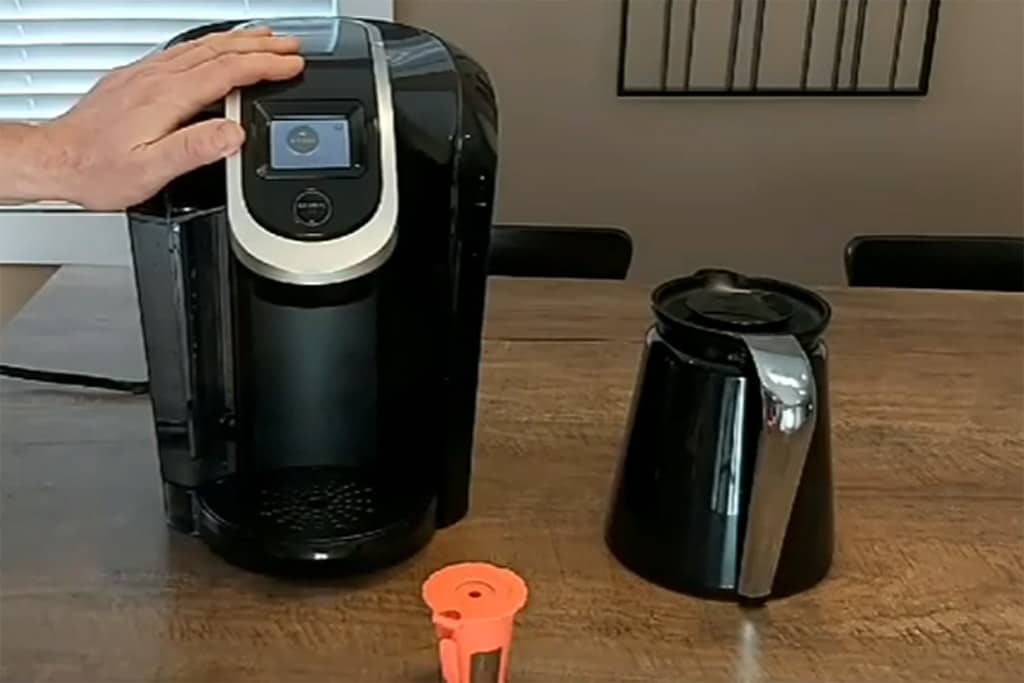
However, a shortcoming of these cups is the fact that they are still not fully recyclable. There is a My K-Cup Refillable Filter that you can get if you want to be more eco-friendly. You can fill it with your favorite single-origin coffee or coffee blend.
How to Use the Keurig 2.0: Step-by-Step Guide
Now that you know all about the separate parts and the settings on the Keurig 2.0, I want to tell you how you can use the Keurig. 2.0 coffee machine to brew coffee. The process is straightforward, with only a few steps that you need to follow. Let’s see what you need to do to brew coffee using this machine!
Step 1 – Turn the Machine on
As expected, the machine needs to be plugged in and turned on to be able to brew coffee. I recommend that you keep it plugged in but not turned on whenever you do not need it. You can turn it on when you need to brew coffee, or you can set the timer to have it ready when you wake up in the morning.
Step 2 – Check the Water Reservoir
Keeping the water reservoir clean is of the utmost importance if you want the coffee to taste good. Just like you would not drink old water, you should not use old water to make coffee. I recommend that you fill the reservoir with new water each day.
Step 3 – Put in the Coffee Capsule
On Keurig 2.0 models, there is a capsule chamber front and center. It is easy to open and close, and you cannot miss it. Whenever you want to brew coffee, all you need to do is open the chamber, put the coffee pod in, and close the chamber.
As mentioned previously, you should check and see if the capsule is the right one for the type of coffee you want. If that is all set and ready, you can move on.
Step 4 – Start The Brew
You can choose to go with the default settings on your machine or set your brew temperature and brew size. Once you set that, you can put your coffee, mug, or carafe under the machine and start the brew. The brewing process should be pretty quick, so stick around the machine as it is brewing.
During the brew, the machine will puncture both the top and the bottom of the capsule and use pressurized water to brew the coffee. Just below the chamber is where the coffee will start dripping from, so make sure your cup or carafe is in the right spot.
Step 5 – Finish It Up
After you have the coffee ready, I recommend that you remove the used pod from the machine and give both the reservoir and the drip tray a nice rinse. After you do that, you can shut off the machine and let it rest until you need it again.
FYI, at some point, you may have to descale your Keurig 2.0 to keep it running smoothly.
FAQs on Using the Keurig 2.0
If all of the previously mentioned information convinced you to give the Keurig 2.0 a try, I would say go for it as soon as possible. But before you do, go over these frequently asked questions to learn even more about the machine. Let’s see what else you should know!
Can I use any carafe with Keurig?
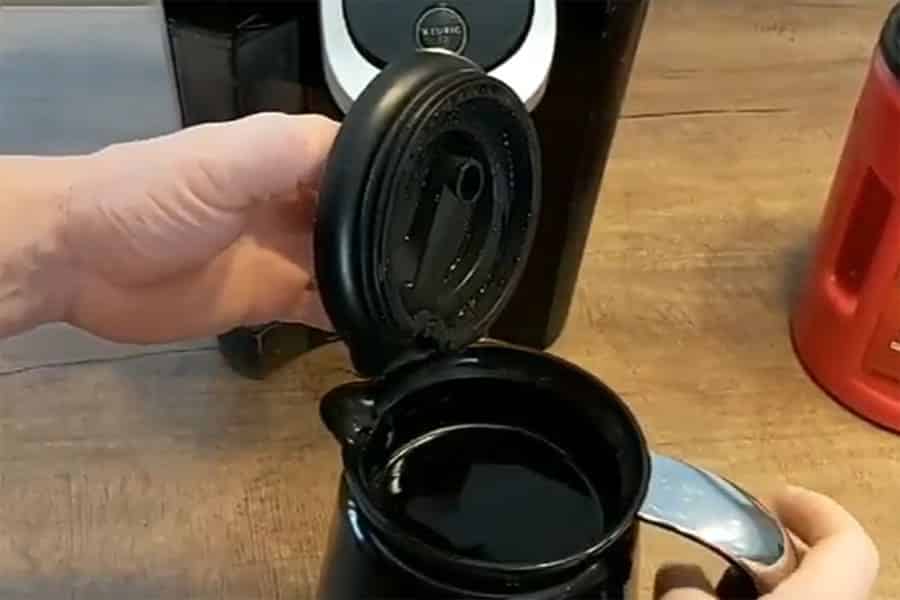
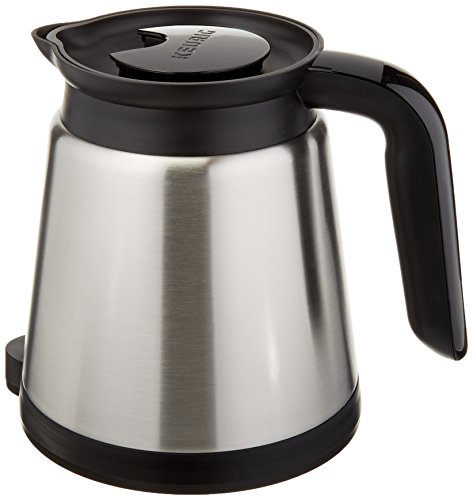
After the company released the machines compatible with carafes, they also released a great carafe that they recommend you use with all Keurig 2.0 models. The Keurig 2.0 Thermal Carafe has a double-wall stainless steel construction, an easy-pouring handle, and sensor mechanism keys. If you can, I recommend that you get this carafe and use it with your machine instead of a regular carafe.
How do I know what model Keurig 2.0 I have?
If you are not sure what type of Keurig 2.0 you have, you can check on the metal plate on the bottom of the machine. The model number should be written there. Using that model number, you can search online for any features that the model might come with but you do not know about or have not tried out yet.
That’s How You Use the Keurig 2.0
I hope that reading through this guide provided you with an abundance of valuable information you can use before brewing coffee with your Keurig 2.0. As said previously, this is a very simple machine to use, so I have no doubts that you will manage to make some great coffee with it.
Again, thank you for sticking with me through this guide. Leave a comment below and share your experience with the Keurig 2.0 machine or any other Keurig machine you have tried before. I cannot wait to read all your comments!
Owen is a writer and editor at Caffe Streets who considers himself a coffee fanatic. He spends his time researching and testing different coffee beans and brewing methods and sharing what he learns with others.


