How to Make Coffee on the Stove in a Pot
Coffee: the ultimate morning get-up drink, the after-dinner conversational drink, or even the midday “I-just-feel-like-caffeine” drink. The best part about this versatile drink is the multiple ways to brew it. Let’s learn how to make coffee on the stove.
Stovetop coffee is great because it doesn’t require a fancy coffee maker, but it’s beneficial for many other reasons too. That reminds me: Coffee makers don’t have to be extremely expensive; you can find some inexpensive French presses and pour overs for your home brewing requirements.
However, some coffee enthusiasts want to learn how to brew coffee on the stove anyway. This manual method will help the barista in you learn learn coffee brewing processes and techniques with the most basic equipment.
There are sub-methods within this method. You can use manual coffee makers such as a percolator or a moka pot, or you can simply learn how to make coffee on the stove in a normal pot.
All you need are your tasty coffee beans, a grinding method, a saucepan, some water, and, of course, your stove. This guide will show you multiple ways to transform those simple elements into a delicious cup of bold coffee.
Time to Make Coffee on the Stove
If you are reading this, the bad news is that you possibly don’t have access to a coffee machine at the moment, or you have no electricity to make your favorite brew. The good news is that there are several ways to brew your favorite coffee beans without a coffee maker.
You will have the opportunity to learn more about coffee, the brewing process, and what makes a fine-tasting mug of Joe. Firstly, I will show you some simple and easy stovetop methods that only require a normal pot, a percolator, or a homemade filter bag. What you use will depend on what you have on hand at home.
After that, I have one extra brewing method for you to try that doesn’t even use the stovetop. This is a delicious cold brew. Time to get to work so you can find your favorite MacGyver method for home brewing!
The Normal Stovetop Method
First, I will guide you through the straightforward method of how to make coffee on the stove. This one is the easiest of the brews and doesn’t require much to get going. Your stovetop will brew a strong cup of coffee.
You can try out a few different beans to find the ones with the best flavors for your tastes, and then start sharing your new coffee brew with friends and family. This is the perfect solution to a brewing method without the expensive machinery.
What You Will Need:
You will only need a few things to started, and they are the following:
- Your favorite coffee beans
- A grinder (or grinding method)
- A saucepan
- Some water
- A ladle
Once you have all your items ready, you can start the brewing process and learn how to make coffee on the stove in a pot.
Step 1: Fill Saucepan with Water
First, prepare your saucepan by filling it with water. Despite the boiling process, you can still taste the difference between water qualities, so try using filtered water for best results.
Measure out enough water for your cup of coffee, and then add a bit extra. The extra water will boil away, though some may be left behind in the pot with the leftover coffee grounds.
Step 2: Stir in Coffee Grounds
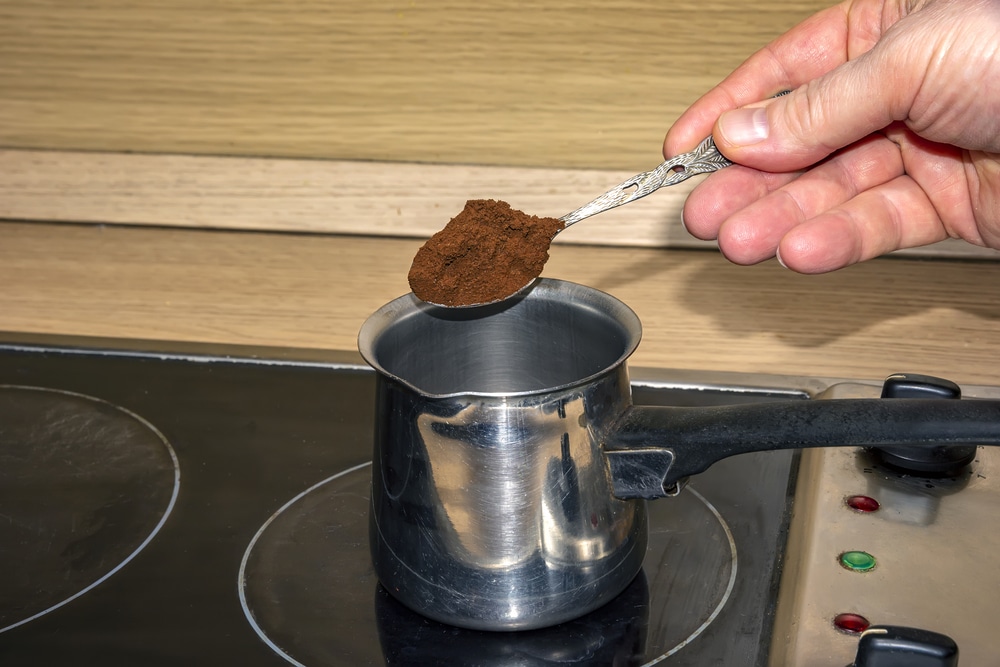
Mix in your desired amount of coffee grounds, and stir them into the water. The amount you use will depend on how strong you enjoy your coffee. Start with one or two heaped tablespoons for roughly 8 oz of water, and then adjust from there according to taste preference.
Step 3: Place on Stove to Boil
Now place your saucepan over medium to high heat and wait for the water to start boiling. You should keep a watchful eye on it so it doesn’t overboil. Stir occasionally while waiting to prevent the grounds from clumping and sticking together or to the bottom of the pan where they will burn.
Step 4: Wait 2 Minutes
Once the water begins to boil gently, let it continue for two minutes before turning off the heat. As soon as the heat is switched off, remove the saucepan from the stove and cover it with a lid. Let this sit for roughly four or five minutes as the coffee grounds will start to settle on the bottom.
Step 5: Pour out the Coffee
Now you just need to transfer the delicious coffee-infused water to your mug. You can do this by spooning it out with a ladle or by pouring it gently into your mug. Be sure to leave as many coffee grounds at the bottom of the pan as possible. You don’t want a gritty beverage.
The Bag Method
“Coffee or tea?” This is a common question that is asked when guests are present. How about coffee brewed like tea? Never heard of coffee being brewed in a bag, have you? Here is how to make coffee using the processes of tea for a different coffee experience.

What You Will Need
- Your coffee grounds
- A coffee filter
- Hot water
- Your coffee mug
- A short string (free of wax)
Have some fun with this DIY coffee bag brew, and show it off to your friends. Make sure the string you use is not coated in wax as you do not want a waxy mug of coffee (Trust me!).
Step 1: Measure Out Grounds
Begin by measuring out the right amount of coffee grounds for a single serving of coffee. Add a little extra if you like your coffee with a strong punch.
Step 2: Put Grounds in Filter
Pour the grounds into the coffee filter before twisting it into a small pouch with the grounds enclosed tightly inside. Now close it up with the string wrapped tightly around the opening. Keep the piece of string long so that it will hang out of the cup.
Step 3: Pour Boiling Water Over Filter Bag
Boil your water by using a kettle, putting a pot on the stove, or putting it over fire. Once your water is boiled, place the bag of coffee into your mug and pour over the steamy water.
Step 4: Wait for the Coffee to Steep
Let your coffee steep for at least four minutes before removing the coffee bag for a decent cup of coffee; however, you can leave it for longer if you prefer a stronger mug of coffee or take it out earlier for a lighter brew.
The Cowboy Method
The cowboy method of making coffee is very similar to your stovetop-pot method but slightly more gritty. Just like a cowboy should be, right? So saddle up because we’ll be roughing it..
What You Will Need
Gather a few items before you begin brewing up your coffee cowboy-style:
- Your favorite coffee beans
- A grinder (or grinding method)
- A kettle
- Some water
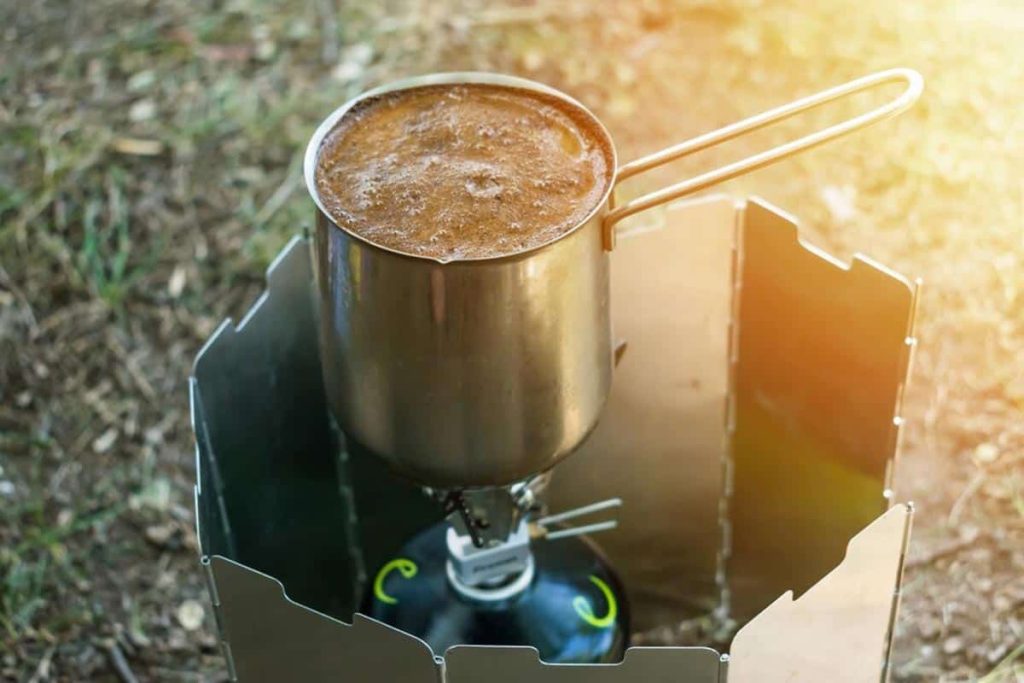
Once you have your boots on, you can begin brewing up your coffee. This method is perfect for a campfire, but it can be done on your stovetop as well.
Step 1: Measure Out Grounds
Start by measuring out your ground-up coffee beans. Add about one or two tablespoons if you are making an 8 oz cup of coffee.
Step 2: Put Grounds and Water in the Kettle
Add both your water and your ground coffee into the kettle. Stir it well before placing it on the stove or over the raging fire you have kindled.
Step 3: Boil for 2 Minutes
Let the contents of the kettle reach a boil before timing an extra two minutes of boiling. Once two minutes are up, remove the kettle from the heat. It’s a good idea to have oven mitts or a dish towel here.
Step 4: Let the Grounds Settle
Leave the cowboy coffee to settle for four minutes before pouring directly into your mug. The grounds will be settled on the bottom so you can avoid them if you would like. However, cowboy coffee is meant to be gritty, so add some coffee grits in there, cowboy!
The Percolator Method
A coffee percolator is one of the earliest drip coffee inventions and creates a strong brew on the stovetop or over fire. The percolator method relies on gravity to lift the boiling water before filtering it through the coffee grounds.
What You Will Need:
For this method, you will need a percolator. Luckily, they are fairly inexpensive. Then you’ll need just a few more items:
- Your coffee beans (or grounds)
- A percolator
- Hot water
- A heat source
Enjoy your coffee like they used to back in the day with this method.
Step 1: Add Cold Water to the Chamber
First, add cold water into the bottom chamber of the percolator. Follow this by placing the tube and grounds filter into the percolator.
Step 2: Add Your Coffee Grounds to the Filter Basket
You’re looking for a medium-coarse grind here. Place the grounds in the top chamber and pop on the lid.
Step 3: Place on Heat Source
Place your percolator on the heat source. Start with low or medium heat to warm up the water. The top of the percolator should have a glass dome to show bubbles when the water is boiling.
Step 4: Watch it Like a Hawk and Wait
Carefully watch it to ensure the bubbles are not too fierce. You want to see a few bubbles every few seconds to ensure the coffee isn’t burning.
Let the coffee brew for anywhere from six to 15 minutes, depending on the beans used and the strength you would like your coffee to be.
Step 5: Remove Grounds and Pour Out the Coffee
Remove the grounds filter before pouring your brewed coffee into your mug to enjoy the strong, bold flavors. This method does require a lot of care, so you may need to play around with the brewing time and the heat to get it just right.
Bonus Method: Cold Brew
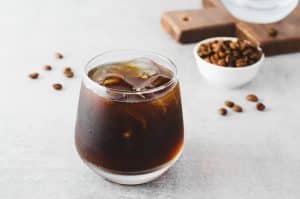
If you don’t want to use the stovetop to brew up your coffee beans, you can try cold brew as an alternative method. The cold brew is simple and easy and can be enjoyed on those hot summer days when a scalding cup of coffee isn’t so appealing.

The cold brew method is simple, and all you need are your coffee beans (ground up coarsely), a pitcher to brew it in, your water, and some patience.
Step 1: Measure Out Coffee Grounds
Start by measuring out your ground coffee beans based on your flavor preference. You can use one cup of coffee to four cups of water for a relatively strong brew.
Step 2: Mix with Water
Mix your ground beans into the water inside the pitcher you have chosen, and cover it to keep dust from falling in.
Step 3: Let It Sit for 12 to 24 Hours
Allow the coffee to brew for anywhere between 12 to 24 hours, depending on how strong you like your coffee. Then pour over ice and enjoy. You can keep the rest cold in the fridge for up to a week.
Tips for When You Brew Coffee on the Stove
Brewing coffee on the stove can be relatively easy, and it may just take some time to get the amount of coffee to your liking and to get the brew time right. Here are a few helpful tips when choosing grind size, beans, and filters for your stovetop brews.
Be Mindful of the Grind
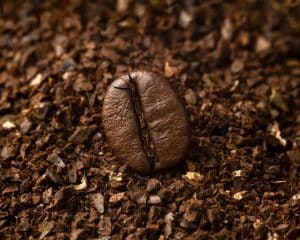
When brewing any type of coffee, you will need to know what grind size is required. The grind size is very important because it will determine how fast or slow the coffee flavors are extracted during the brewing process. If the grind size is too fine and is brewed for too long, you will end up drinking a bitter cup of coffee.
On the other hand, a coarse grind with a short brewing time will end up under-extracting, giving you a cup of water with maybe a hint of coffee in it. Find your grind size. I would recommend using a quality burr grinder to grind up your beans at home.
Grinding them yourself ensures extra freshness in your cup of coffee as the oxidation process (which causes grounds to lose flavor) has only just begun once you pour the beans into your water to brew.
Don’t Forget to Filter
If you don’t enjoy a gritty cup of coffee, then you should filter your stovetop methods to avoid unwanted coffee grounds in your mug of Joe. If you don’t have an actual coffee filter, you can use a variety of materials from home.
You can find a strainer to filter out the grounds, use a dish towel, or double up some paper towels before straining the brewed coffee through them. This will ensure your coffee is grit-free and ready to be enjoyed.
Try Different Coffee Beans
When brewing up any type of coffee, you will have a wide variety of beans to choose from with different roast levels, flavors, and blends. Everyone has a different preference when it comes to coffee beans, and lucky for you, you will have plenty to try to find your favorites.
This can be an exciting process as you search for various beans and origins to find the flavors that stand out to you. The world of coffee beans is large, and you can spend years going through them all. However, you will soon learn the roast level and groups of beans you prefer. So enjoy the tasting experience.
FAQs
Can you make coffee without using a filter?
Yes, you don’t need a special filter to brew up coffee at home. You can use a strainer, a dish towel, or paper towels to filter out your coffee grounds. After brewing, simply pour the coffee through your makeshift filter and enjoy.
If you don’t want to use any of these methods, brew your coffee, let it sit for a while as the grounds settle at the bottom, and ladle out the coffee water without the grounds at the bottom.
Do you need electricity to make coffee?
The answer to this depends on what you define as “need.” You can easily brew up some coffee if you don’t have any electricity by simply using a gas stove, fire stove, or just a simple fire. These methods are more time-intensive than simply switching on your coffee machine, but they produce fine cups of coffee.
These methods will help you learn the intricacies of coffee brewing such as the grind size, brew times, and filtering methods. If you don’t have a gas or fire stove and you still need that hit of caffeine, then you can try out a cold brew. However, the brew times are pretty long. It can take anywhere between 12 and 24 hours for optimal brewing.
Do I need whole coffee beans for stovetop brewing?
It’s best to use coffee grounds when brewing up a stovetop pot of coffee. This will allow the flavors to be extracted to produce an intense cup of coffee. The whole beans won’t extract enough flavors in the time it takes to brew. You should, however, buy whole beans and grind them yourself at home for optimal flavor.
Is it safe to consume coffee grounds?
Yes, there is nothing wrong with consuming a few coffee grounds at the bottom of your cup of coffee. It is even recommended for the cowboy brewing method. However, ground coffee contains quite a lot of acid, so it may be harsh on your stomach if you consume too much.
Ready to Brew?
Now that you know brewing up coffee can be fairly simple, you can get practicing to master the brew. Play around with flavors, roast levels, and brew times to find new variations to enjoy.
Coffee is all about experimenting, and if you need to try out some new coffee beans, have a look at our top picks of quality coffee beans that can be used in multiple brew methods.
Owen is a writer and editor at Caffe Streets who considers himself a coffee fanatic. He spends his time researching and testing different coffee beans and brewing methods and sharing what he learns with others.


