How to Use a Percolator: A Step-by-Step Guide
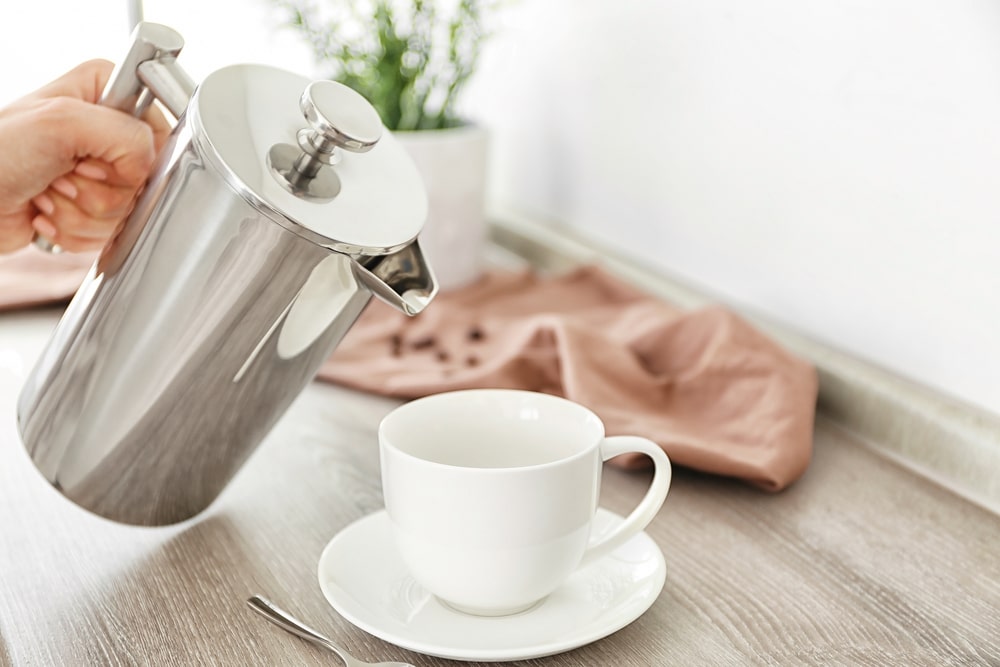
The best thing about coffee is the various techniques used to make a steamy cup of Joe. You can find your favorite and stick with it or explore the various and delicious brewing methods. If you want to save on power, you can even learn how to use a stovetop percolator.
This method of brewing coffee beans uses a heat source to bring the water up to brewing temperature. The most common percolators are stovetop ones that are great for camping as you can use the fire to heat the percolator. But there are also electric models that you can just plug in.
When you’re learning how to use a percolator, whether electric or stovetop, the method will be the same. The only thing that will change is the heat source and possibly the time it takes to brew.
Some people may tell you to stay away from this technique since it isn’t one of the fancier coffee brewing methods. However, this may also be due to the longer brew times. Learning how to use a coffee percolator can teach you to be patient, slow down a bit, and take some time to enjoy the process.
What Is a Percolator?
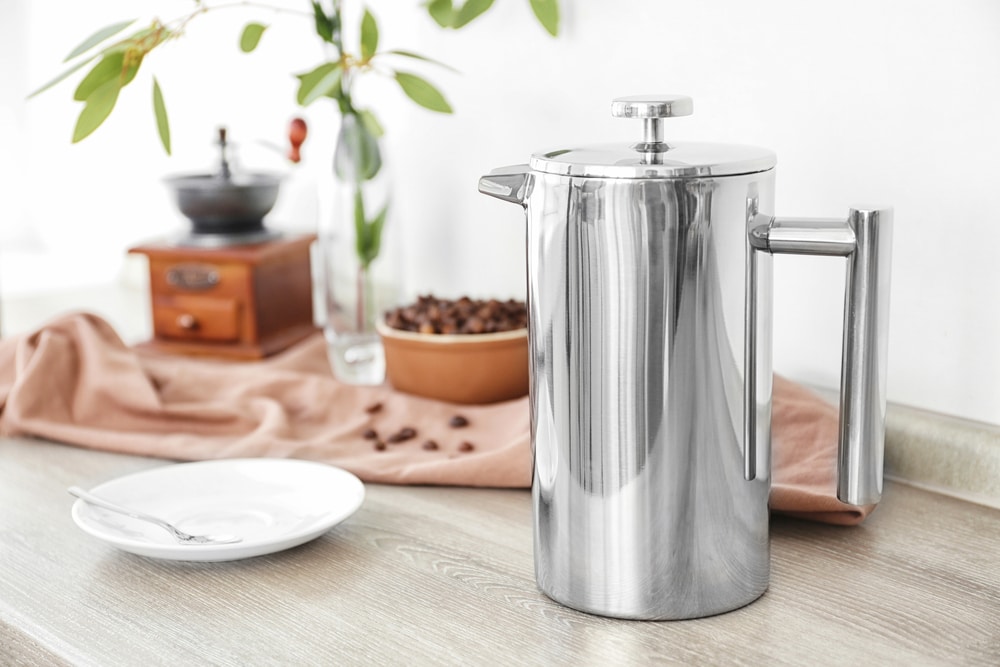
Firstly, it is good to know what this brewing contraption is and how it works. This will help you know how to use a percolator correctly to get the best brew out of this method.
Stovetop percolators have a very similar look to stovetop kettles, but they have a very different interior. The inside includes a chamber for water as well as a filter basket for your coffee grounds.
In this method, steam is pushed through the coffee grinds to saturate them before they begin brewing. Then a type of vacuum brewing occurs by drawing the boiling water up through a tube. This water then filters through the coffee grounds and back down into the chamber.
The percolator is often confused with the moka pot as they look fairly similar on the outside. However, these brew devices have a few key differences, the most important being the function that moves the water through the grounds.
A percolator works on a gravity-based system where the water rises and drips through the grinds, whereas a moka pot uses pressurized steam to brew the coffee. The percolator is a predecessor to the drip coffee machine. This is quite different from the moka pot.
The process of brewing, whether it is a drip method or pressurized steam method, affects the taste of the brew. This means you won’t be getting anywhere near an espresso flavor with a percolator. On the other hand, a moka pot can get you somewhere close.
Percolators were one of the first drip coffee makers to move beyond the practice of throwing coffee grounds straight into boiling water. Being a pioneer of great coffee, the percolator should be given some love, and here is how you can utilize this historic brew method.
How to Make Coffee in a Percolator
Making your coffee in a percolator takes a lot of care and practice, and this is one of the reasons why this brew method is less popular than when it was first invented. The brewing process requires a fair amount of watching and nurturing.
Since the water is constantly funneled through the coffee grounds, it is very easy to overbrew your coffee. This leads to over-extraction of the coffee, and any expert will tell you that over-extraction is a big no in coffee brewing.
Over-extracting your coffee grounds leads to a bitter taste that will leave you feeling worse than you did before your morning brew. If you are dedicated to making coffee of all types and you don’t mind being patient to perfect this method, then a percolator is a great tool for your coffee supply.
Learning how to make coffee in a percolator is a great way to improve your coffee skills and knowledge as it helps you understand the mechanisms of coffee extraction. Let’s get started so you can become a coffee brewing expert.
What You Need
To begin brewing with a percolator, you will need the following:
- Good quality beans
- A burr grinder
- A percolator
- A heat source if you’re using a non-electric model
- Oven mitts
- A spoon
- Water
Once you have all the items you need, you can get brewing in a few simple steps. It is advised to practice a few times to get the brew just right. Don’t give up after just one bitter brew.
Be sure to not make too much on your first try as you don’t want to leave leftover coffee for later because it will become bitter. Instead, brew small amounts right before you are ready to drink. You can also just brew up a large pot and share it with your friends and family.
Step 1: Grind Your Beans
The first step is to prepare your coffee beans by grinding them up. It is advised to grind up your beans right before brewing to extract maximum flavor. If you buy pre-ground beans, they will have already started oxidizing and losing key flavor notes.
Owning a burr grinder is essential for a well-balanced cup of coffee as these grinders produce a consistent grind. The even grind will ensure your coffee does not come out sour and bitter.
A stovetop percolator requires a medium-coarse grind that is similar to the grind needed for a French press. This will prevent the grinds from over-extracting with the longer brew times.
You should measure out one tablespoon of ground coffee beans for every 8 oz of water. This will help you measure out enough grounds for the amount of coffee you would like to brew.
Use this as a starting point and adjust as you practice more to achieve the right strength for your brew. Percolators generally make strong coffee, so don’t overdo it in the beginning.
Step 2: Pour Water into the Chamber
Prepare your percolator by pouring cold water into the bottom chamber. Remember to tweak the water and coffee amounts when testing how strong you would like it.
Be careful not to fill past the holes in the spout of the percolator. Overfilling will result in coffee water bubbling out of the spout and making a mess. Remember the water will start to boil and bubble, so leave a bit of space for this.
Step 3: Put Ground Coffee in the Filter
Now place the filter into the percolator. This part is usually attached to the tube where the water bubbles up. Pour your ground coffee into the filter part, and be careful to not spill any down the tube. This will leave bits of coffee in the water which will give your coffee an unpleasant gritty taste.
If you haven’t assembled your percolator already, you may need to refer to the manual or search your model online to determine how to put it all together. If the tube is not attached to the filter basket, then you may need to place it in the chamber before attaching the basket on the top.
Step 4: Turn on Your Heat Source
It’s time to start heating your coffee. Turn on your percolator or place it on the stove turned to low or medium heat. The key to a good cup of percolator coffee is to heat the water slowly. This will prevent the coffee grinds from burning during the brewing process.
Step 5: Keep an Eye on It
Keep a watchful eye on the pot as it brews. You want to ensure that the pot is neither too hot nor too cold. Most percolators have a glass globe on the top, and this isn’t merely for design purposes. It is placed there to let you keep an eye on the brew.
As the water heats up, it will start boiling at some point. You will see this as the bubbles appear in the glass globe. These bubbles should appear every few seconds when the temperature is just right.
If you can see a continuous stream of bubbles in the globe, then the heat is too high and the water is boiling too much. You will need to lower the heat to stop the coffee from burning. If there are no bubbles after the water has heated up, then there is not enough heat, and you will have to turn it up.
As you’re trying to get that temperature just right, this is where your patience, skill, and practice will come into play.
Step 6: Wait until Done
The brew time will depend on how strong you would like your coffee to be, and you should test out different brew times to get it just right. This should take somewhere between five to 15 minutes depending on the heat source and the strength you would like your coffee to be.
When you start to see the bubbles changing to a browny color, you will know it is getting close.
Step 7: Pour and Enjoy Your Coffee
Once the brewing is done, it is time to pour into your mug and enjoy the strong, flavorful coffee you have just brewed. Before you pour out the coffee, remove the ground filter to make sure no bits of coffee fall into your mug.
Since the entire percolator has been heating on the stove for so long, it will be extremely hot. Use oven mitts to remove it from the heat, take out the filter, and pour it into your mug.
No percolator? Here’s a hack on how to make coffee on a stove without it.
Top Tips on Making Coffee in a Percolator
As with any coffee brewing method, you should take note of a few things to keep your equipment clean and prepared for your next brew. Here are some tips if you are ready to immerse yourself in the world of percolated coffee.
Keep It Clean
Percolators can get quite messy inside with the coffee bubbling all over. Once you have finished brewing your coffee, throw those old grounds in the compost and clean your appliance (after you’ve enjoyed your cup of Joe, of course).
You can easily clean the percolator in soapy water if it is the manual type and not the electric type. All the parts can be washed since you don’t use paper filters. You can simply wash out the grounds chamber, a great environmentally friendly option.
Don’t forget to clean the tube as well since the coffee water will have bubbled inside it. Keeping the appliance clean will ensure great-tasting coffee every time you brew.
Always Use Whole Fresh Coffee Beans
This goes for almost every type of coffee you brew, but whole beans are the best option if you are after a quality cup of coffee. These beans are the freshest option since you will be able to grind them up right before brewing.
Coffee beans go through an oxidation process as soon as they are ground, and this process leads to a loss of flavor. If the beans are ground up too early, there won’t be much flavor left in them by the time they reach the brewing phase.
If you don’t have the capacity to roast your beans (this can be a tedious and messy process), the next best thing is to grind your beans at home.
Grind Your Beans Right
Grind size and consistency matter when it comes to a balanced cup of coffee. If the size is wrong, the beans will over- or under-extract, leading to either a watery coffee or a bitter and burnt coffee.
The grind size for a percolator is similar to a French press which requires a medium- to coarse-grind. Once you make your first percolated coffee, check the water chamber after brewing. If there are bits of coffee grinds left in there, then your grind size is too fine.
The consistency will also affect the taste of your coffee. An inconsistent grind will lead to the coffee flavors extracting at different rates. The smaller grinds will over-extract and leave you with an overly bitter coffee.
Using a burr grinder will give you the right grind size settings and produce a consistent grind due to the burr mechanism.
FAQs
What coffee is best to use in a percolator?
For quality percolator coffee, I would recommend using a medium roasted bean for optimal flavor. You should be using whole beans and grinding before brewing for optimal freshness and flavor.
Since percolators have a longer brewing time, dark roasted beans will likely produce a bitter or burnt taste in your coffee. The light roast beans will probably be too subtle for this brew method, and you’ll probably experience a weak coffee.
Be sure to grind up to a medium to coarse grind for percolator coffee. You can use a French press setting on your burr grinder for this.
Does a percolator require paper filters?
No, a percolator has a built-in filter and does not require any paper filters to be used. This means you can enjoy an environmentally friendly cup of Joe when using the percolator method of brewing.
And when you use a non-electric percolator on a stove or campfire, you are brewing your coffee in an entirely sustainable manner (as long as you have bought fair-trade sustainably sourced beans).
How much coffee should you use in a percolator?
The amount of coffee you use in the percolator will depend on how strong you would like your coffee to be. To start, you can use one big tablespoon of coffee if you like a fairly strong coffee. You will need to play around a bit to get the right amount for you.
Percolators generally produce strong coffee, so start with a bit less than the recommended amount if you prefer subtle coffee flavors.
Go Forth and Percolate!
Percolator coffee can be an exciting brew method if you love all things coffee. It may take a bit of extra effort and patience, but if you get it right, it will be a rewarding process. You can enjoy a mug of nostalgic coffee or just have a brew method for wherever you go, even if you are camping.
Now we know that whatever brew method you use, the grind is the most important element (after sourcing quality beans and before brewing correctly). So head on over to find our top picks of burr grinders for you to enjoy!
Owen is a writer and editor at Caffe Streets who considers himself a coffee fanatic. He spends his time researching and testing different coffee beans and brewing methods and sharing what he learns with others.

