How to Roast Coffee Beans: A Definitive Guide
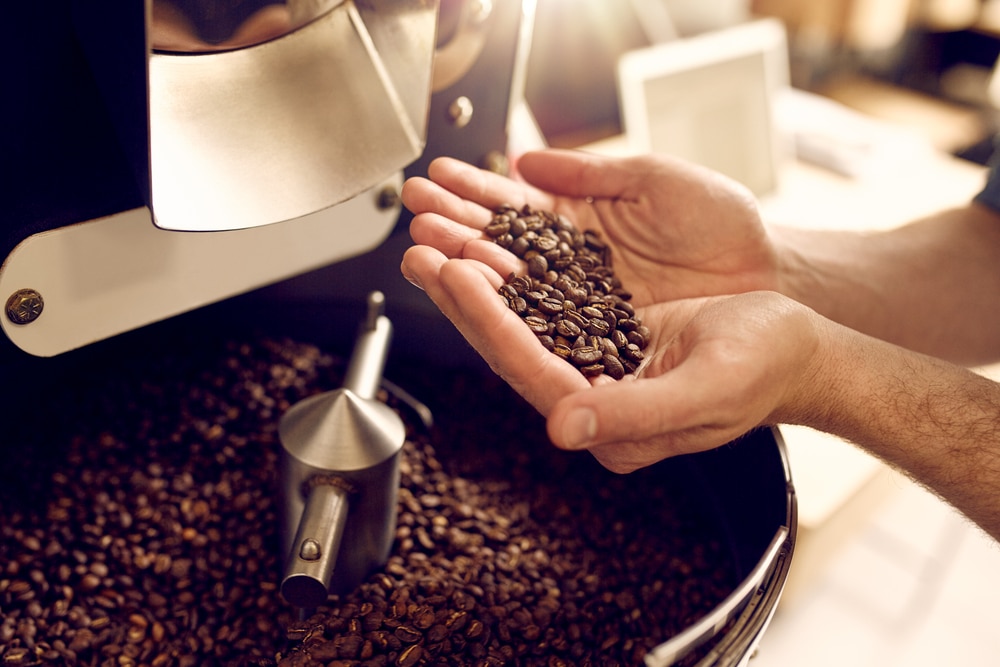
Roasting your own coffee beans at home may seem over-the-top, but taking control of your coffee right from the roasting process is not as hard as you think, and can be incredibly fulfilling. In this guide, I’ll show you how to roast coffee beans using appliances you already own!
You can also expand your range of coffees by roasting single-origin coffee beans — as long as you can get your hands on the raw beans!
This tutorial covers how to choose your green coffee beans, roasting by hand or with a coffee roaster, and roasting temperatures. Don’t worry, you won’t be waking up at the crack of dawn to roast the beans that you’ll use for your morning brew. Coffee beans do need a few days to degas before you can brew them. So plan in advance for your first brew using hand-roasted coffee.
Why Would You Roast Coffee Yourself?
If you choose to roast your coffee beans at home, you will have more control over how your coffee tastes. You will also have access to a larger range of coffees and roast types than your local coffee shop or grocery store can offer.
You can choose from numerous single-origin coffees from around the world and easily roast up your favorites. Not only does roasting your own beans at home offer a great amount of flexibility, but it also gives you the ability to brew up the freshest coffee at a lower price than store-bought beans.
The green coffee beans are significantly cheaper than ones already roasted, and they can last up to a year while still retaining the freshness necessary for a prime brew. Roasted beans, on the other hand, start losing their freshness after a few weeks and only last for two or three months.
As any coffee lover knows, the truly great cups of coffee are the freshest. This is why store-bought ground coffee is not advised over grinding your beans at home. Just as the roasted beans slowly start losing freshness, this is amplified when you grind the beans.
However, we all know the convenience of buying a pack of pre-ground or pre-roasted coffee beans is necessary at times. Yet once you learn how simple it is, you may be converted to spending a little extra time on weekends to pre-roast a batch of coffee for the week ahead.
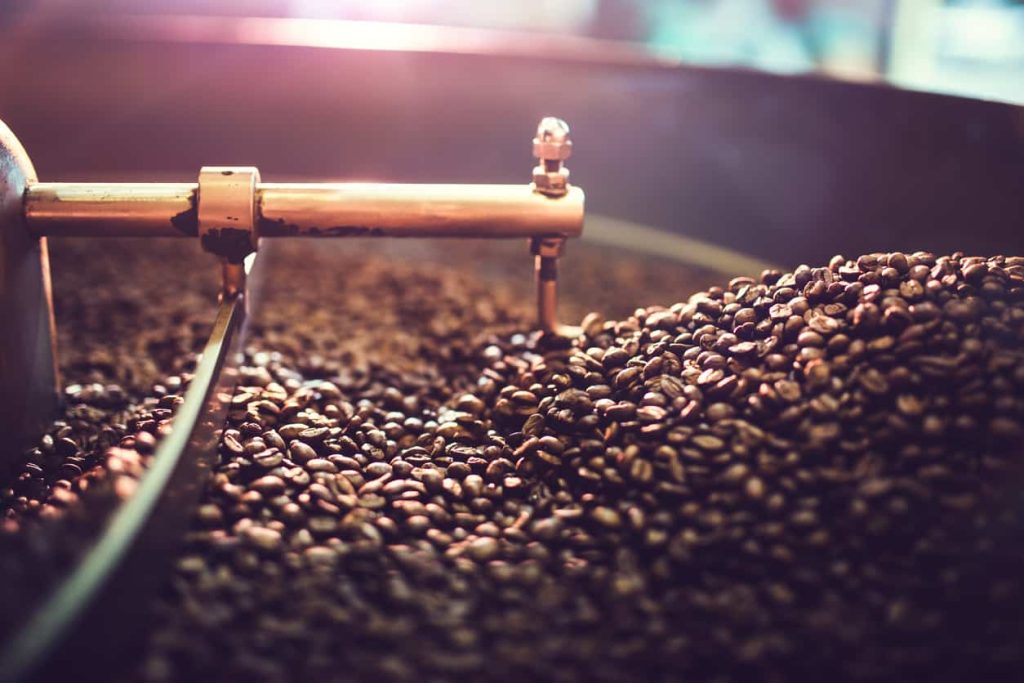
Preparations Before Roasting
Buying the Beans
The first step is to source the raw green coffee beans. You can look for them at your local grocery store, or you may have some luck if the local coffee shops roast their own beans. Another good option is to buy beans online from sites such as Amazon.
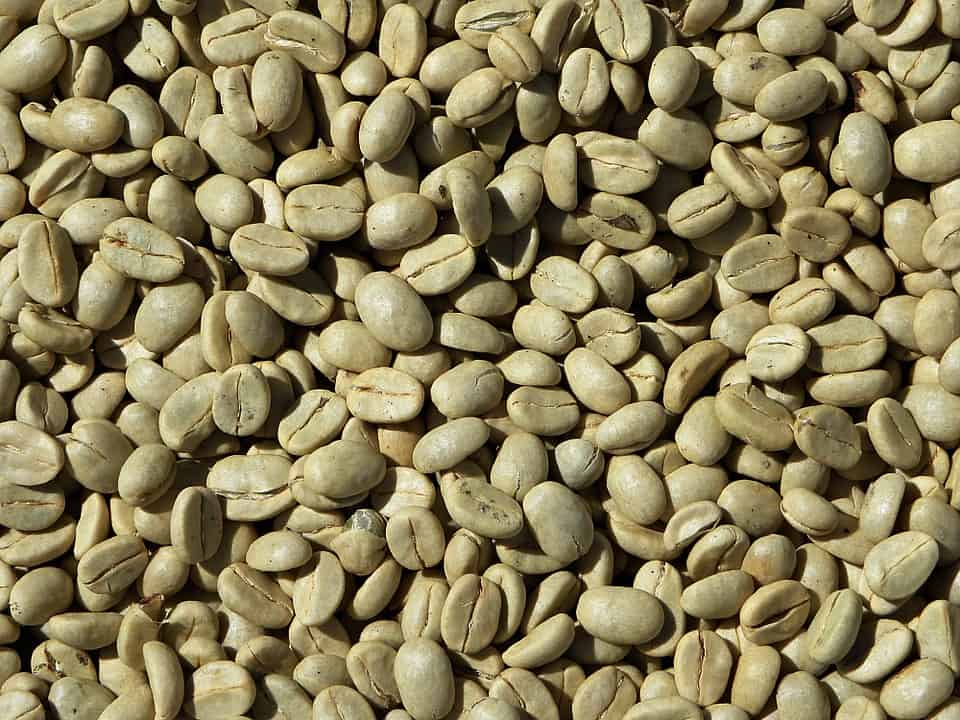
The size: It is important to note that the roasted beans will be bigger but lighter than the raw beans. So if you purchase a one-pound bag of green beans, you will end up with half a pound of beans that have almost doubled in size.
Consistency: Great-tasting beans rely on consistency. This is important during the brewing, grinding, and roasting process. However, it starts during the buying process when you select the green beans, which are actually seeds.
You should choose beans that are consistent in size and color to ensure an even roast. While roasting, the beans slowly change color to the rich brown we see on roasted beans. You want to ensure that each bean changes color at the same speed to ensure an even roast.
Roasting Area
When choosing your roasting area (which may be limited if you are using the oven methods), be sure that you have a well-ventilated space and a cooling fan. Open up windows or switch on extractor fans for your safety, as the beans will release a lot of smoke and gas.
Extra Precautions
Another factor to consider is the chaff, which is the external part of the coffee seeds that will flake off during the roasting process. These bits are extremely light and dry, so care should be taken so they don’t sit in a space where they can catch on fire (take extra precautions with the popcorn maker).
You may need to partake in a hefty clean-up depending on the method you use and the appliances chosen. If your oven is a bit old and blows out a lot of air, this could easily cause a kitchen disaster with the chaff flying around.
Once you have considered these factors, you can choose your roasting method and gather the necessary equipment, which I will detail below.
How to Roast Coffee Beans at Home in 3 Ways
There are a few different ways for you to roast up your green coffee beans using appliances at home. Some techniques use everyday household items like a pan on the stovetop, while others may need specialized appliances like a popcorn machine (Yes, really!) or a coffee roasting machine.
All these methods allow you to control the roast level of your beans and choose the flavor profiles you would like to experience from your roasted beans.
The oven and pan methods will save you the most money, as you will not need to buy expensive equipment. However, these methods may make it difficult for beginners to get an even roast before learning how to expertly control the airflow.
The popcorn or roasting machine will give you an even roast and a more consistent bean flavor. They make it easier for beginners to produce great-tasting beans. The popcorn machine is less expensive than a professional roaster.
However, a popcorn machine is a tricky option for a few reasons. If you choose to use this method, you will have to sacrifice the warranty of the machine, and it may break within a few months of roasting. This popcorn machine method can be used as a starter option, but long term, you should move on to a proper roaster or learn how to roast coffee using the oven methods.
Roasting in the Oven
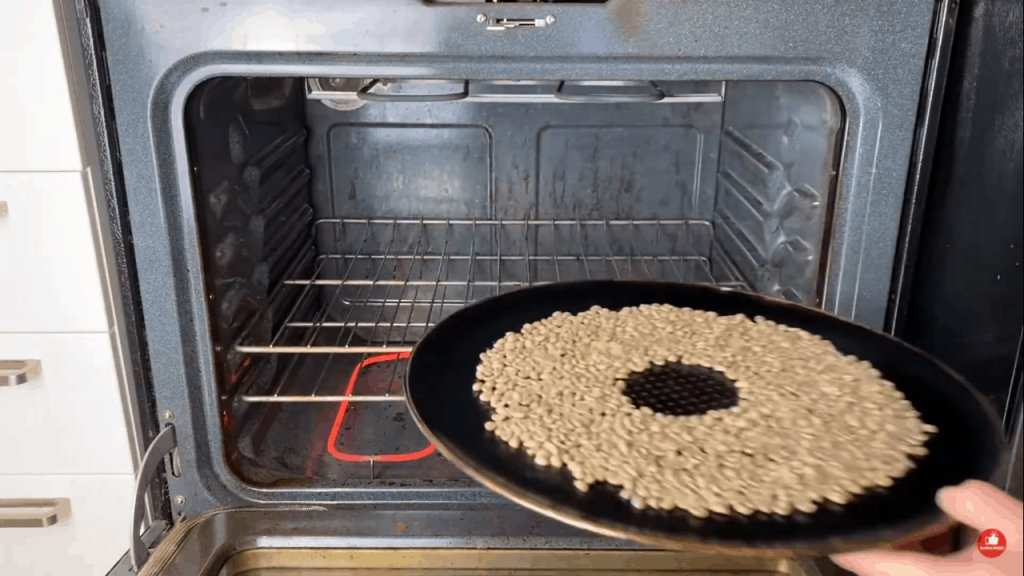
Roasting in the oven is the simplest way to roast your beans, and you don’t need much equipment to get your beans roasting. Once you have your beans and ventilated space ready, you will need the following equipment:
- An oven tray (perforated ones work well)
- A metal colander
- Oven mitts
Step 1: Preheat
The first step is to preheat your oven. As ovens generally differ in temperatures, you may need to test this out and adjust your temperature accordingly. Start off at 500 degrees Fahrenheit, and reduce this temperature if you find it too hot for the beans.
Step 2: Spread Your Beans
Evenly spread your beans out on the tray in one layer, giving the beans adequate space to expand. If you are using a perforated tray, be sure the beans won’t fall and get stuck in the holes during roasting.
The tray should then be placed on the middle rack for an even roast, as this is the most consistent temperature spot in the oven.
Step 3: Listen for the Crack
While your beans are roasting, you should be close by to listen for the two cracks. The first crack usually comes within five to seven minutes. This means the beans are at the minimum roasting level.
The second crack will come shortly after, and once you hear it, wait 60 seconds before taking the beans out of the oven.
Step 4: Remove from the Oven
Using your mitts, transfer the beans to a colander and shake them out. You will have a mess of chaff coming off the beans, so you might want to do this part outside.
Once the beans have cooled down, you will need to leave them out for at least 12 hours to let them degas. You can cover them with a kitchen towel once they are cool enough.
Watch the whole process unfold in this video:
Wrap-Up on the Oven Method
Since the oven method is the cheapest and requires the least equipment, it is an attractive option. However, there are some drawbacks. Here are the pros and cons.
Pros
- Minimal equipment needed
- Not much effort required
- Least expensive method
- Can roast larger quantities at a time
Cons
- Produces a lot of smoke
- Need to ensure the beans roast evenly
- Chaff can be messy
Roasting in a Pan
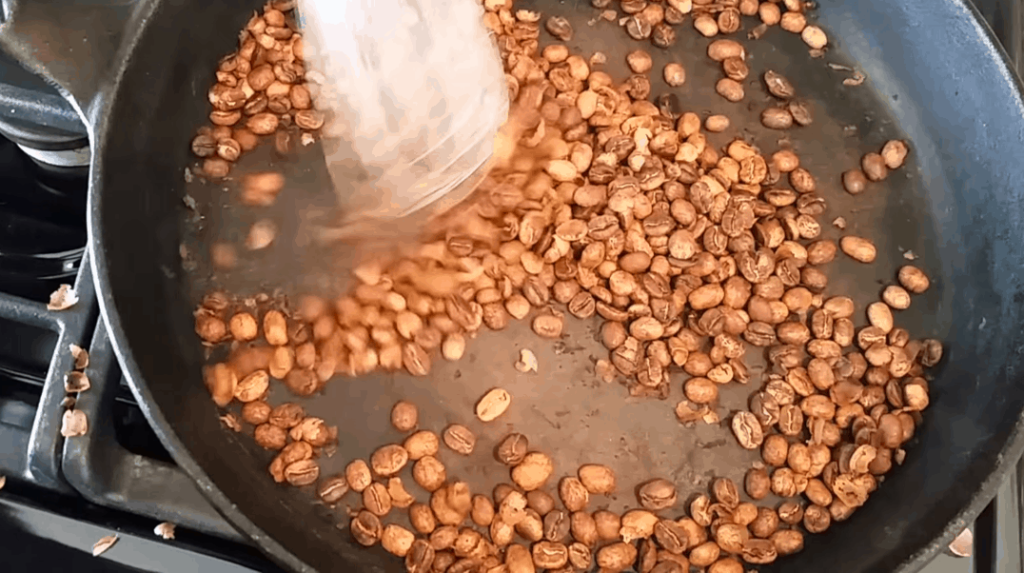
The next method is almost as inexpensive as the oven method; however, you need a few more tools to roast your beans on the stovetop. Start off by taking note of the items you need, which include:
- Your chosen beans
- A pan that can withstand high heats
- A metal colander
- A wooden spoon
- Oven mitts
Step 1: Preheat
Start by heating up the pan to a high temperature. You will want to aim for a similar temperature to the oven, so if you get it up to 450 degrees Fahrenheit, that will be golden. You may need to play around a bit to find the right temperature though.
Step 2: Add Your Beans
Sprinkle in your raw coffee beans so that you have a thin layer in the pan. You don’t want to overcrowd the pan, as the beans will not roast evenly.
Start stirring immediately and don’t stop. You want to prevent the beans from burning, so you will need to keep them moving.
Step 3: Wait for the Crack
Now you will wait for the two cracks as you would with the oven method. After about five or seven minutes, you’ll hear the first crack, followed by a second one about two minutes later.
The second crack is the warning that you should take your beans off the heat within 60 seconds, but 30 seconds is the prime time.
Step 4: Cool Down Your Beans
Toss these beans in the colander, and watch out for the chaff that will fly around. You can leave these to cool down before slightly covering them while they degas for the next 12 hours (or longer, if you can wait).
Wrap-Up on the Pan Method
The pan method requires minimal equipment, but it will produce a strong coffee smell and a lot of smoke.
Pros
- Inexpensive method
- You can easily see the roasting progress
- Fast roasting time
Cons
- Produces a lot of smoke
- Hard to tell the pan’s temperature
Roasting in a Roasting Machine
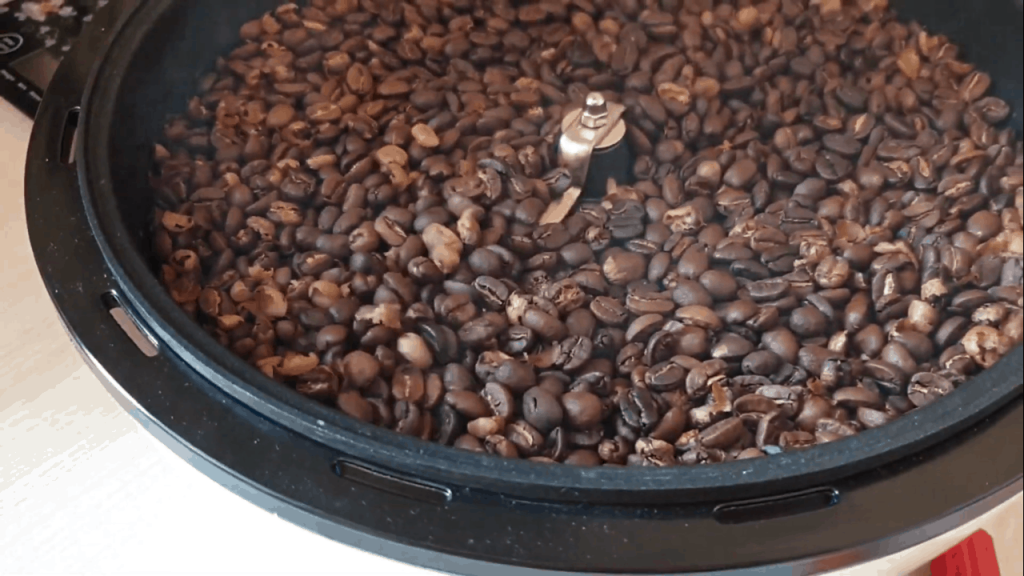
A coffee roasting machine is the best option to roast your beans and safely ensure a consistent roast while knowing you are roasting the beans correctly. The main downfall of this method is the price of coffee roasters. For this method, you will need:
- Your chosen beans
- A good-quality roasting machine
- A metal colander
- Oven mitts
If you choose the roasting machine method, the process is fairly simple, and you can follow the instructions provided with the machine. The process will still require adequate ventilation and provisions for the chaff that comes off the beans.
Step 1: Prepare the Machine
You will start by turning the machine on and adding the beans according to the instruction manual.
Step 2: Listen for the Crack
You should still be attentive and wait to hear the first and the second crack. Removing the beans after the first crack gives you a light roast, and removing them after the second crack gives you a medium roast.
Step 3: Remove and Degas
Once removed, transfer the beans to your colander and shake off the excess chaff left on the beans. This step is only necessary if the machine doesn’t have a built-in cooling process.
You will then need to cover the beans slightly to give them time to degas and expel the excess carbon dioxide that is released.
Wrap-Up on the Roasting Machine Method
If a good-quality roasting machine is within your budget, then this may be the easiest method to ensure a consistent roast. You should still check there is enough ventilation around the machine, and keep an eye on it while it roasts.
Pros
- Easy to set the right temperature
- Provides a consistent roast
- Don’t need to worry about chaff burning
- Easy to clean up afterward
Cons
- Most expensive method
- Requires counter space for the machine
There are numerous coffee roasting machines in the market for you to choose from based on your needs. A good option for a budget-friendly machine is the Nuvo Eco Ceramic Handy Coffee Bean Roaster, whereas a high-end option would be the Fresh Roast SR540.
Degassing After Roasting
Once you have successfully roasted your coffee beans, you will need to allow adequate time for them to degas. This can take anywhere from 12 hours to a few days. Once the beans have released these gases, they should be stored in an airtight container for maximum freshness.
To enjoy the optimal flavor of the beans, brew them up within a week of roasting them. Always remember to grind them right before brewing if your coffee machine requires coffee grounds. This will again ensure maximum freshness.
FAQs
How long does roasting coffee beans take?
The time it takes to roast your coffee beans will depend on the type of roast you would like. A light roast will take between five and seven minutes, whereas a medium roast can take up to eight minutes.
What is the best method to roast coffee?
Your method for roasting coffee will depend on your budget and how much control you would like in the process. The cheapest methods use the oven or stovetop, while a roasting machine will provide you with a consistent roast but can be quite pricey.
Is it better to roast your own coffee?
If you want to enjoy the freshest coffee possible, then roasting your own beans is the best option. You will have full control over your roast level, and you can roast a few days in advance to give the beans time to degas so you can brew your coffee as soon as they are in their prime.
What is the best temperature to roast coffee?
The temperature will depend on your appliances. However, the general roasting temperatures vary between 360 and 540 degrees Fahrenheit. You can play around with these temperatures on your specific equipment to find the right temperature for you.
Should you rinse your coffee beans before roasting?
No, you shouldn’t rinse your raw coffee beans before roasting. The roasting process is done to dry out the beans completely to create that roasted taste. If you rinse your beans beforehand, you will wet them and cause a longer roasting process, which could burn the beans. The beans could retain moisture and create bad-tasting roasted coffee.
Time to Roast!
Now that you have learned how to roast coffee beans, here comes the hard part: selecting your raw beans. This can be an extremely fun process as you have a wide range of options to choose from!
You can explore coffee tastes from around the world by roasting up new flavors that can’t be found in your local cafes or grocery stores. Start by buying raw beans in small batches so you can test out the various flavors and decide on your favorite.
Owen is a writer and editor at Caffe Streets who considers himself a coffee fanatic. He spends his time researching and testing different coffee beans and brewing methods and sharing what he learns with others.


