How to Clean a Keurig 2.0 Coffee Machine: Simple Easy Steps
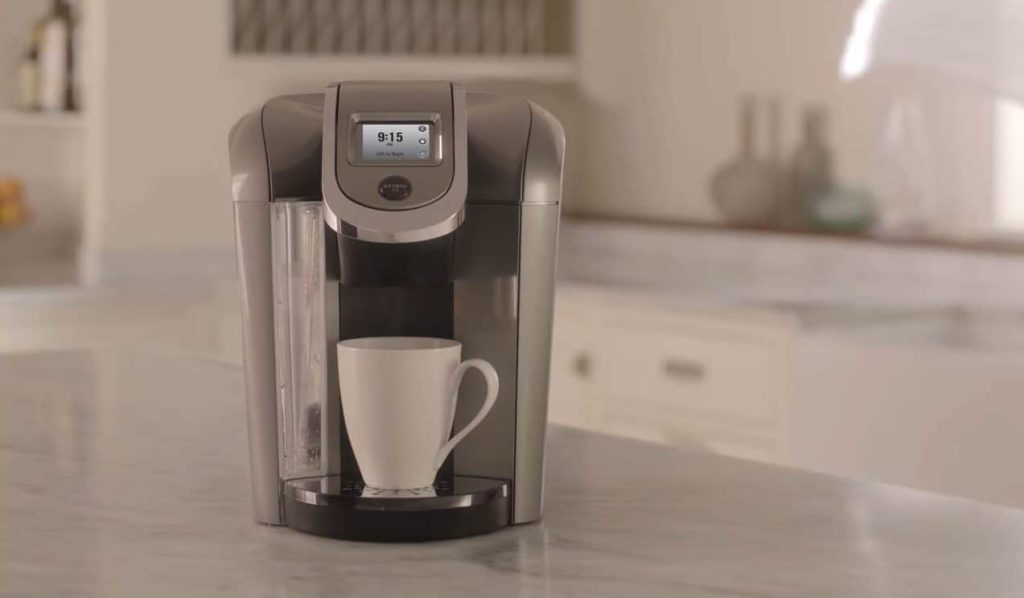
When the first Keurig machine came out in the 90s, it revolutionized how we make coffee. You could enjoy different types of coffee on demand from the comfort of your home. All you needed to do was pop in a K-cup, and the machine would do the brewing for you. It’s therefore not surprising that the Keurig coffee machine flew off the shelves.
Many years later, the Kuerig 2.0 was unveiled, complete with sleeker aesthetics, and enhanced automation and versatility. It’s certainly one of the best automatic coffee machines out there.
Just about every complex machine needs constant maintenance, and the Keurig is no different. But looking at forums and feedback from coffee enthusiasts, it’s clear that not many of us know how to clean a Keurig 2.0 coffee machine. Do you? If not, you have come to the right place.
Properly cleaning your Keurig 2.0 is actually a simple and straightforward process. With clear and detailed explanations, you can do it with ease. So brew a cup of your favorite coffee, kick back, and let’s dive into how to do it.
How to Clean a Keurig 2.0

As you know, the Keurig 2.0 can be broken down into separate parts. This makes cleaning this amazing machine a quick and hassle-free process.
Please note that these instructions are specifically for Keurig 2.0. Please refer to our other articles if you’re cleaning a Cuisinart Keurig or descaling a classic Keurig,
Here’s the low-down on how to clean a Keurig 2.0 coffee machine. The process is made up of two stages:
- Cleaning the parts
- Descaling the machine
Cleaning the Parts
First off, to properly clean your Keurig 2.0, you need the following items:
- A paper clip
- Water
- A toothbrush
- Mild soap
- A clean cloth
Here’s how to clean each part:
1. Water Tank and Drip Tray
Start by removing your water tank and drip tray. Be on the lookout for mold and grime as you wash them carefully with mild detergent. Pay particular attention to the valve at the bottom of the tank.
Once you are done, rinse them to completely remove the soap, and set them up to airdry. Using cloth isn’t ideal since it leaves lint behind.
2. K-Cup Holder
First, start by removing the K-Cup holder and its holding tray by lifting the handle. Next, separate the holder and its housing by pressing the buttons on the K-Cup holder.
Wash the holder with water, and set it aside to dry. Thoroughly rinse the housing since oils and coffee grounds build up over time.
3. Keurig Needle
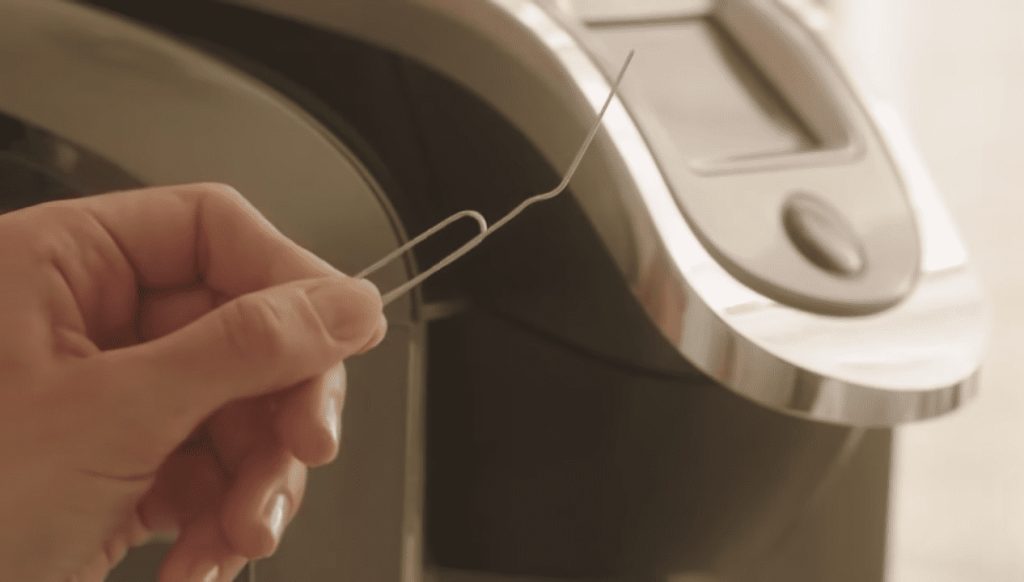
Since the needle is a crucial component of the Keurig 2.0, take your time cleaning it. While the Keurig company does offer specialized needle cleaning equipment, a paper clip will work as well. Here is how you go about it:
- Make sure your coffee maker is unplugged.
- Remove the pack holder by pressing the side buttons.
- With your paperclip, carefully dislodge and clean any accumulated debris and residue. (Be very careful while doing this. The needle is a sensitive and important component of your Keurig 2.0)
4. Entrance and Exit Needles
Be very alert when cleaning the entry and exit needles since they are very sharp. Your paper clip will come in handy for this part as well. Here are the steps:
- Make sure your coffee maker is unplugged.
- Remove the pack holder to better access the exit needle and entrance needle.
- Carefully use your paper clip to clean the needles; make sure there is no debris clogging the passageways.
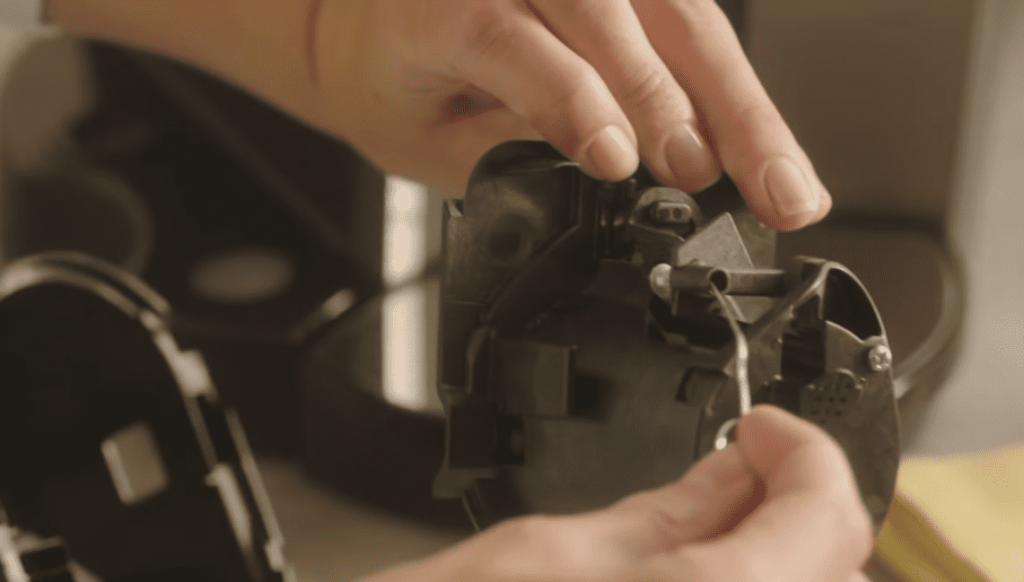
- Once you are satisfied, place the pack holder back into your Keurig machine.
- Next, look under the handle for the top entrance and exit needles and use the paper clip to clean and dislodge any clogs.
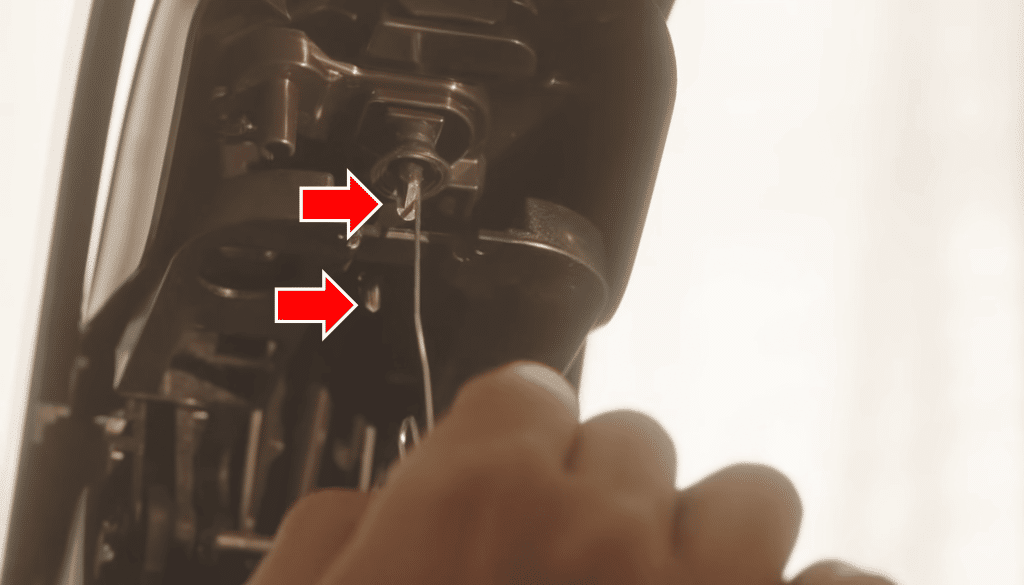
- Once all the needles are clean, fill the reservoir with water and run a brew cycle to complete the cleaning process.
5. The Diffuser
Cleaning the diffuser is as easy as it gets. Check the steps below:
- Unplug your machine.
- Remove the diffuser.
- Wash it using clean water and a cloth.
- Put the diffuser back into the machine.
6. The Exterior
Of course, you want the exterior of your machine to look clean and presentable. Here’s how you go about cleaning it:
- Unplug your coffee machine.
- Detach the water reservoir and drip tray.
- Use the toothbrush to clean out coffee grounds that might be stuck around the top exit needle and handle.
- Wipe down the exterior of your unit with a damp cloth.
- Put everything back together.
Steps for Descaling the Machine
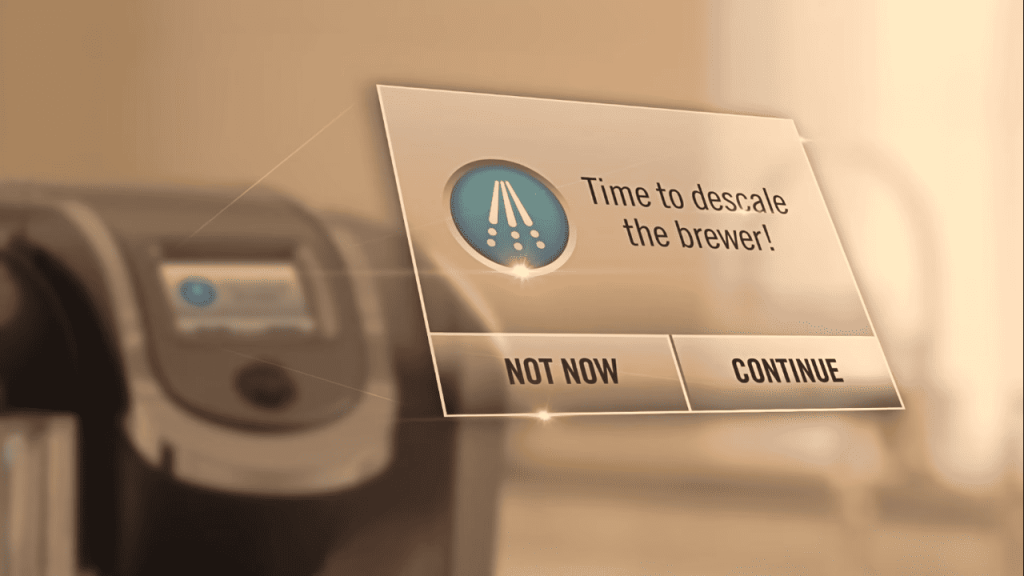
You need to descale your Keurig 2.0 brewer depending on the mineral content of water in your area. Otherwise, performance will drop as minerals build up in its components over time. The good thing is that most brewers nowadays, including Keurig, will prompt you when it’s time to descale by displaying a message on the touch screen.
Note that while the Keurig company manufactures commercial descalers, you can use vinegar for the job as well. Here’s what you will need:
- Keurig descaling solution
- Water
- A large mug
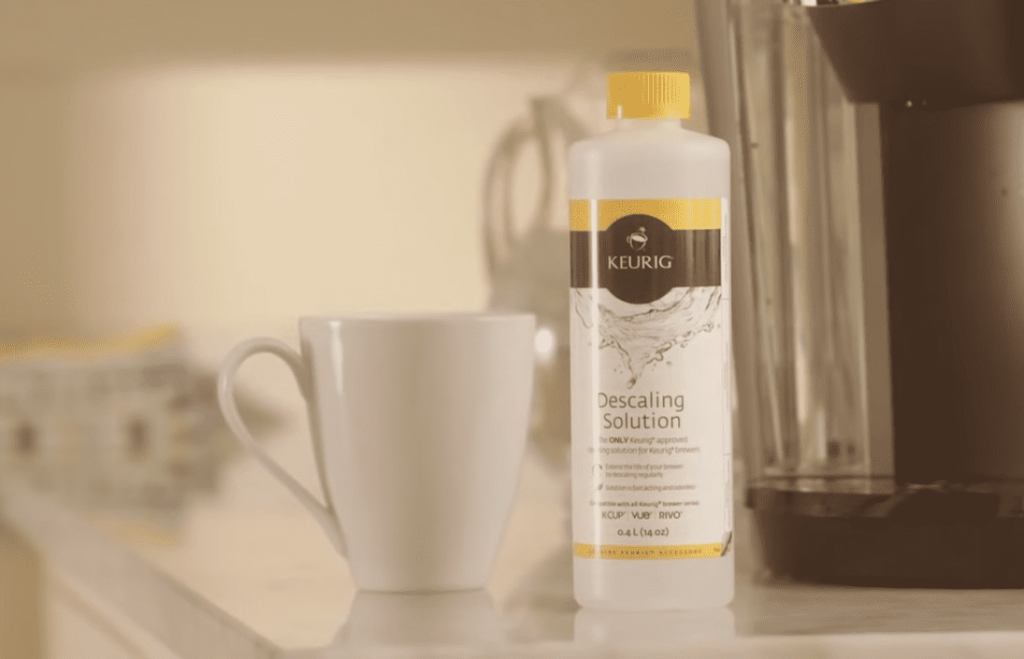
To descale your brewer, this is what you should do:
- Empty the reservoir, remove the water filter and unplug your brewer.
- Add 14 ounces of water into the reservoir, then pour a bottle of descaling solution. If you are using vinegar, fill your reservoir with ⅔ whiter vinegar and the rest with water.
- Place your mug on the drip tray.
- Without inserting the pod, open and close the handle, then press the brew button. Wait as the descaling rinse runs its course. Once your mug is full, discard the contents. Continue with the rinse process until the brewer prompts you for more water.
- Let the brewer settle for 20-30 minutes without turning it off. Remove the water tank and rinse.
- For the final rinse, fill the reservoir with clean water and run the brew cycle. This will help clean every component of your Keurig machine. You can repeat this process up to three times.
And that sums up how to clean a Keurig 2.0. Remember to separate your cleaning into two stages so as to make the process easier and effective.
The cleaning process is different when you’re cleaning an espresso machine, especially if it’s an automatic one, like the Mr. Coffee Barista.
Frequently Asked Questions About Keurig 2.0 Cleaning
Why Should You Clean Your Keurig Coffee Machine?
The answer is simple: good coffee. You might not know this, but coffee machines, including the Keurig, will get pretty filthy over time. Think about it. If you use your Keurig regularly, it’s only a matter of time before clogs and oil blockages build up. And when this happens, your coffee will taste burnt and bitter.
Is White Vinegar Safe for My Keurig?
Yes, vinegar is safe to use for descaling any Keurig. Its acidic properties help break down any mineral build-up. However, you should use the Keurig descaling solution if you are concerned about bacteria and mold build-up.
Et Voila — Sparkly Clean Keurig
Just as promised earlier, you will agree that this is a pretty simple and straightforward process. You don’t really need to purchase any expensive or complex tools and materials. Everything you need to get started is easily accessible and available in your house, from the toothbrush to paper clips and soap.
What’s left is for you to follow each of the steps just as described and watch your Keurig 2.0 become mint again and brew you that sweet, flavourful coffee you have always desired.
Owen is a writer and editor at Caffe Streets who considers himself a coffee fanatic. He spends his time researching and testing different coffee beans and brewing methods and sharing what he learns with others.


